66-Data Fetching


创建新项目:npx create-next-app data-fetching-demo。
67-Fetching Data in Client Components
使用https://jsonplaceholder.typicode.com/提供的api来获取数据。在client components里面获取数据,其实之前就学过,和react组件里面获取数据一样,只不过在nextjs中,需要使用use client将组件变为client components。
下面这段代码重点关注里面获取数据的部分。
xxxxxxxxxx601// app/users-client/page.tsx23"use client";45import { useState, useEffect } from "react";67type User = {8 id: number;9 name: string;10 username: string;11 email: string;12 phone: string;13}1415export default function UsersClient() {16 const [users, setUsers] = useState<User[]>([]);17 const [loading, setLoading] = useState<boolean>(true);18 const [error, setError] = useState("");1920 useEffect(() => {21 async function fetchUsers() {22 try {23 const response = await fetch("https://jsonplaceholder.typicode.com/users");24 if (!response.ok) throw new Error("");25 const data = await response.json();26 setUsers(data);27 } catch (err) {28 if (err instanceof Error) {2930 } else {31 setError("An unknown error occurred")32 }33 } finally {34 setLoading(false)35 }36 }3738 fetchUsers();39 }, [])4041 if(loading) return <div>Loading...</div>42 if(error) return <div>{error}</div>4344 return (45 <ul className="space-y-4 p-4">46 {47 users.map(user => (48 <li className="p-4 bg-white shadow-md rounded-lg text-gray-700" key={user.id}>49 <div className="font-bold">{user.name}</div>50 <div className="text-sm">51 <div>Username: {user.username}</div>52 <div>Email: {user.email}</div>53 <div>Phone: {user.phone}</div>54 </div>55 </li>56 ))57 }58 </ul>59 )60}可以看到,先出现Loading,数据返回后渲染了数据。

提示:
在client components里面获取数据,只在一些特定的情况下推荐使用,否则都应该在server components里面获取数据,哪些情况呢?
like when you need real-time updates, or when your data depends on client-side interactions that you can't predict on the server side,
68-Fetching Data in Server Components

在server components里面请求数据,就像写普通的js代码那样。
xxxxxxxxxx311// data-fetching-demo/src/app/users-server/page.tsx23type User = {4 id: number;5 name: string;6 username: string;7 email: string;8 phone: string;9}1011export default async function UsersServer() {12 const response = await fetch("https://jsonplaceholder.typicode.com/users");13 const users: User[] = await response.json();1415 return (16 <ul className="space-y-4 p-4">17 {18 users.map(user => (19 <li className="p-4 bg-white shadow-md rounded-lg text-gray-700" key={user.id}>20 <div className="font-bold">{user.name}</div>21 <div className="text-sm">22 <div>Username: {user.username}</div>23 <div>Email: {user.email}</div>24 <div>Phone: {user.phone}</div>25 </div>26 </li>27 ))28 }29 </ul>30 )31}可以看到数据正常显示了:
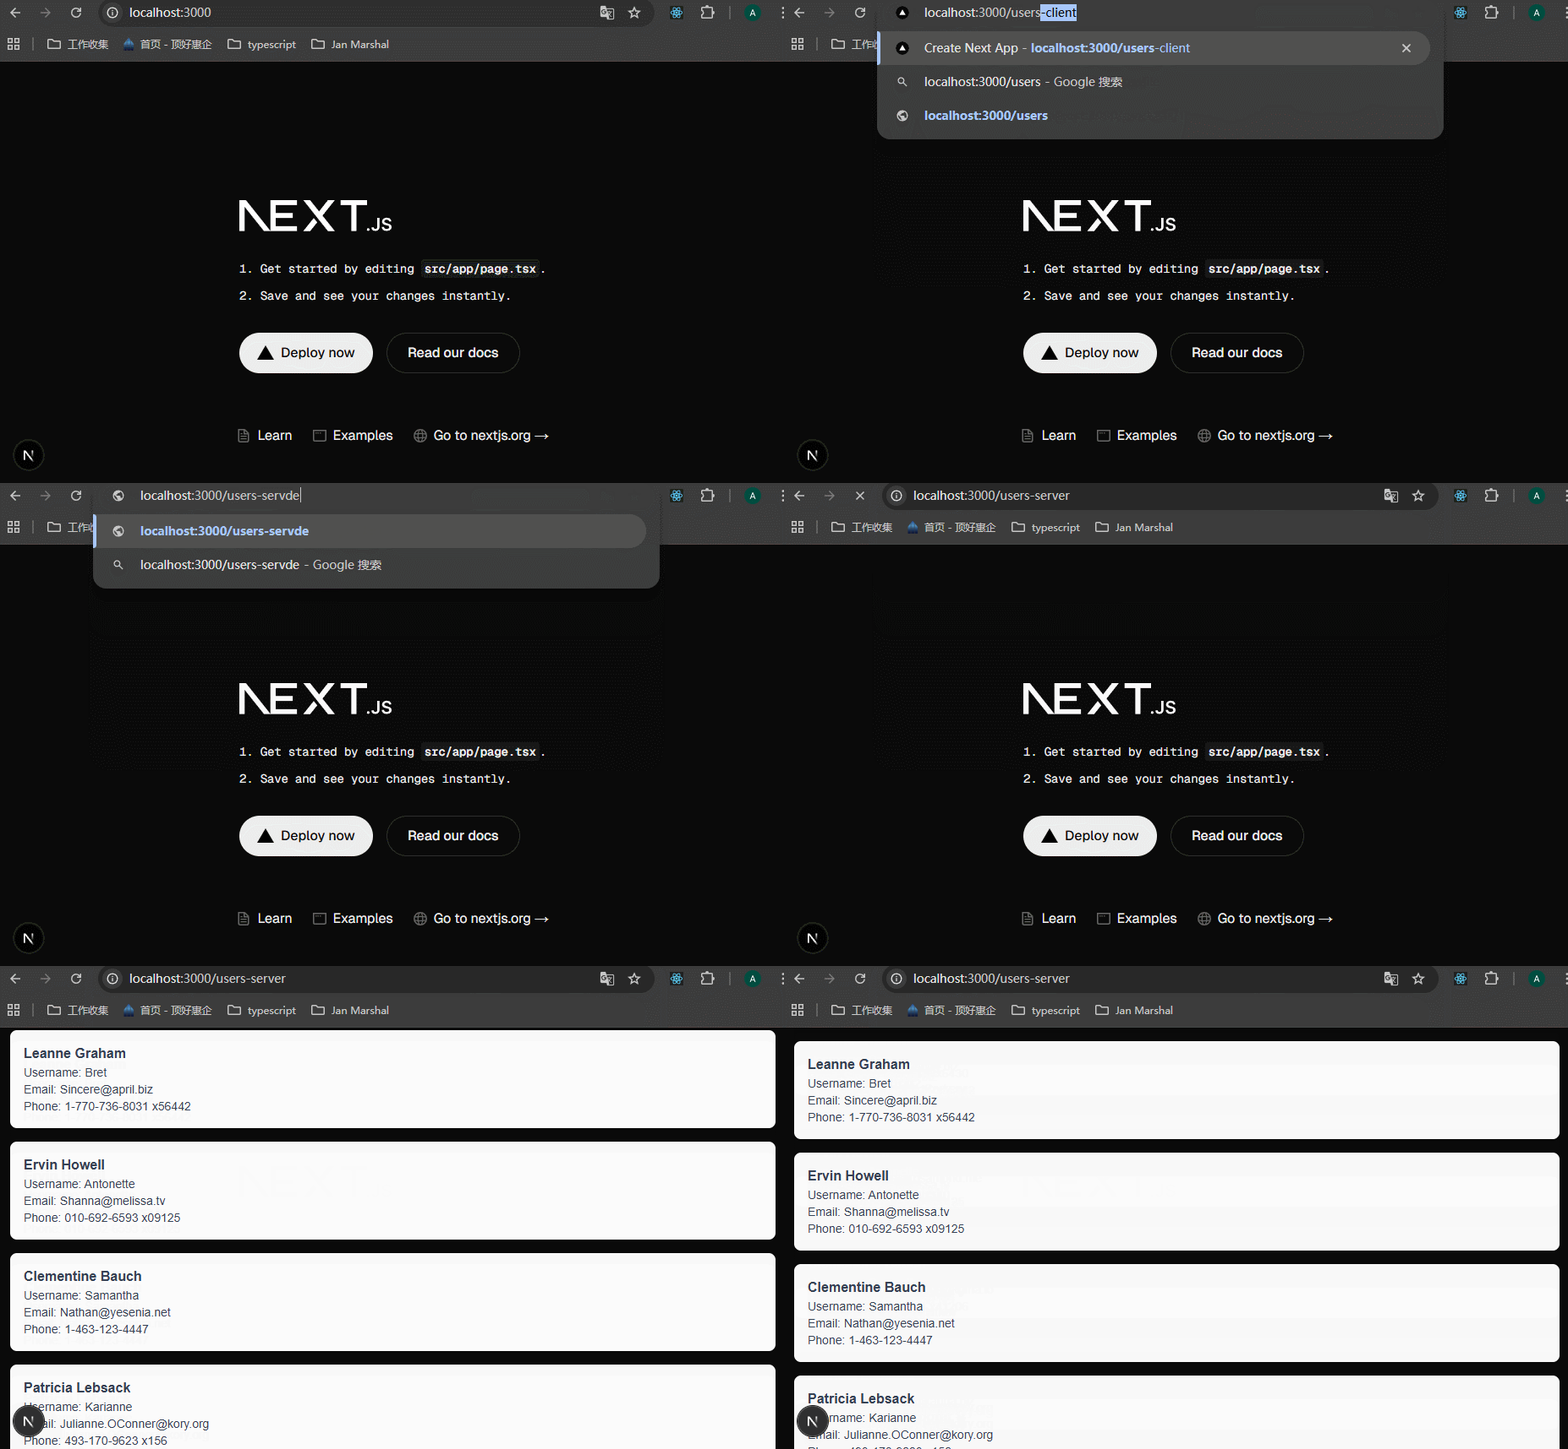
针对server components的数据请求,react有优化:

react will deduplicate fetch requests with the same URL and options。react 会将具有相同URL和传参的fetch请求去重,使用第一次请求获取的数据。

这意味着可以在component tree的任何位置请求数据,而不用担心重复的网络请求。因为react针对相同的URL和传参,只会执行一次fetch操作,并在同一渲染传递中的后续调用中重复使用结果。
这样做的好处是什么呢?可以让我在需要data-fetching的时候就使用它,而不用集中处理数据请求并通过props来传递数据。
69-Loading and Error States
在client components中,我们使用useState来定义loading和error的,那在server component里面,不能使用useState,怎么展示loading和error的状态呢?
只需要定义loading.tsx和error.tsx这两个文件即可,之前已经学过了,这里丰富一下内容。

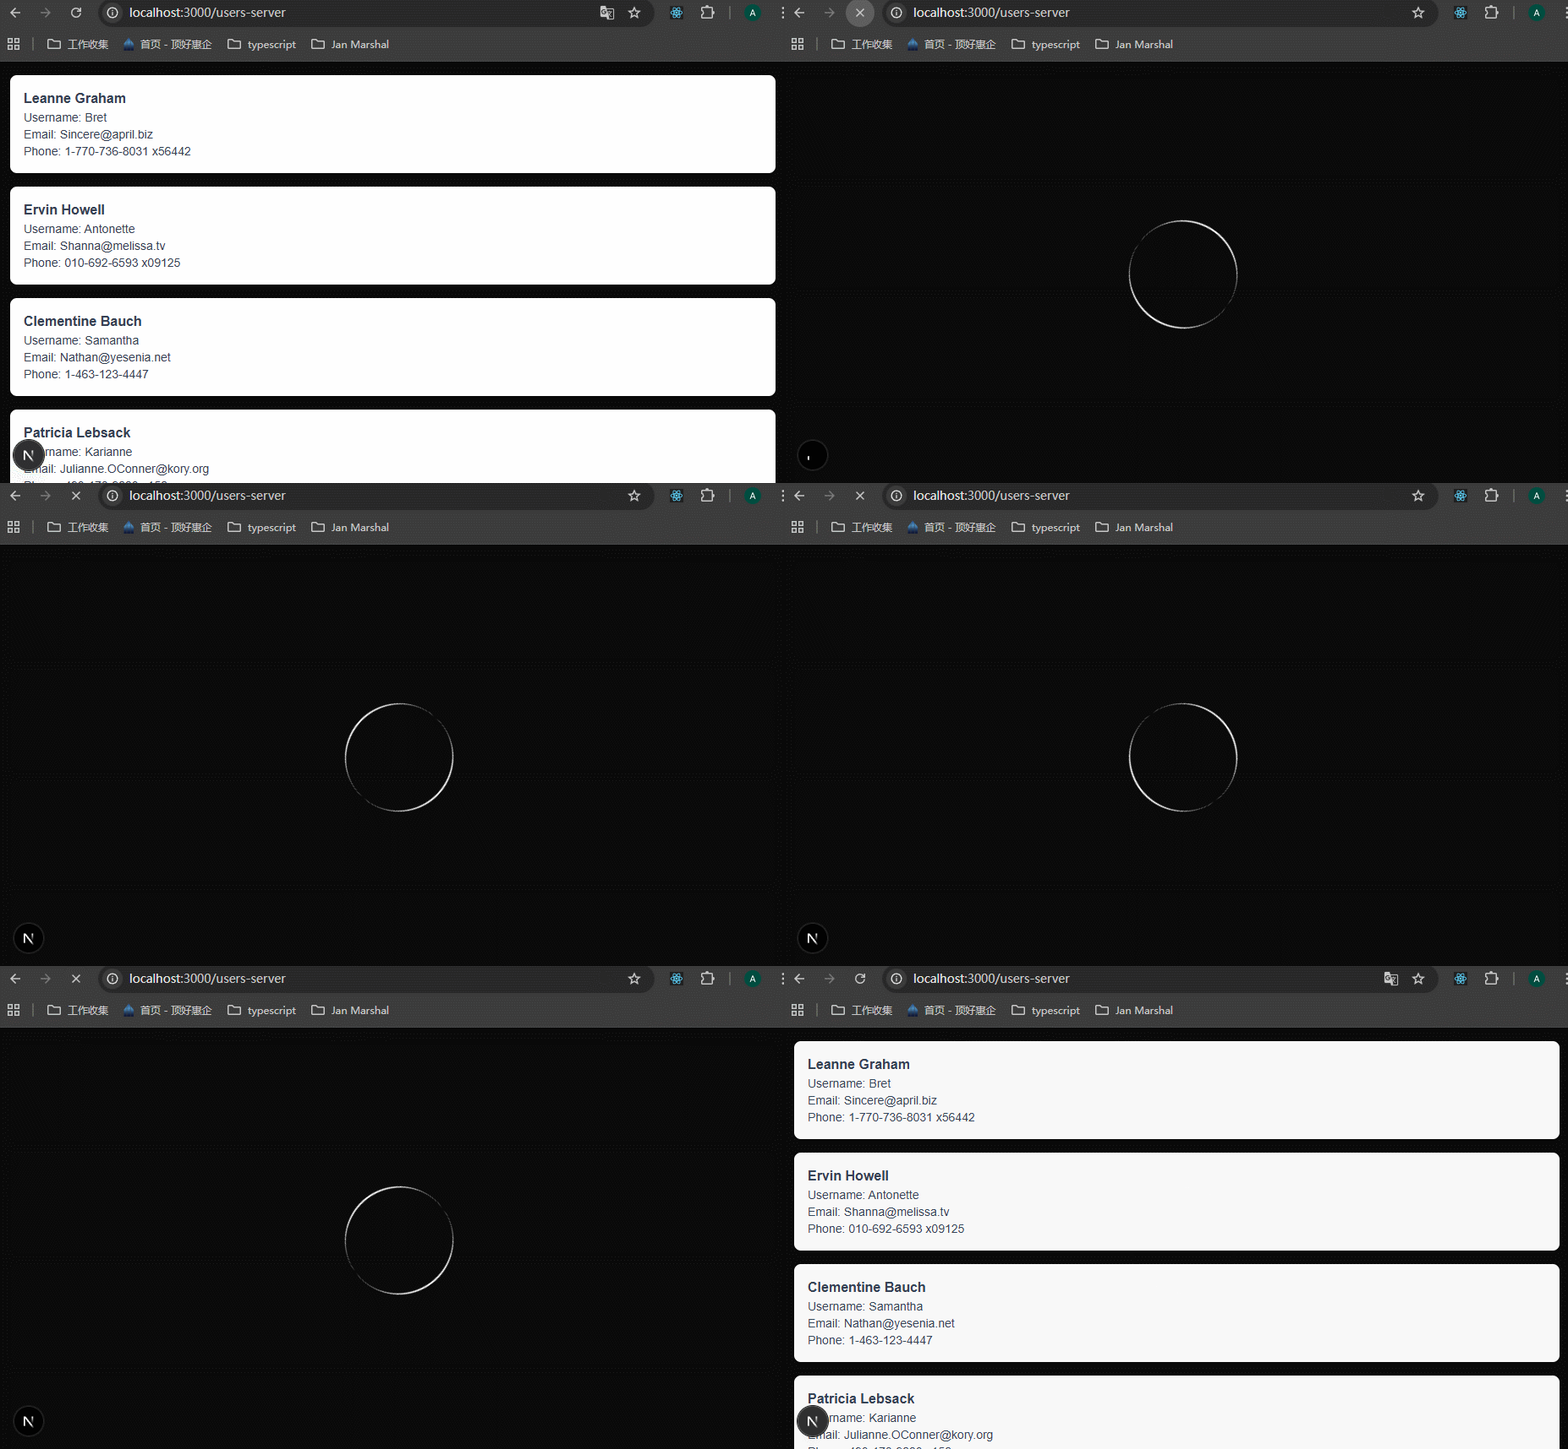
xxxxxxxxxx161// data-fetching-demo/src/app/users-server/error.tsx23"use client";4import { useEffect } from "react";56export default function ErrorPage({ error }: { error: Error }) {7 useEffect(() => {8 // 这里是模拟一种情况,当出现error的时候,可能要发送给log存储起来9 console.error(`${error}`);10 }, [error]);11 return (12 <div className="flex items-center justify-center h-screen">13 <div className="text-2xl text-red-500">{error.message || "Error fetching users data"}</div>14 </div>15 );16}xxxxxxxxxx91// data-fetching-demo/src/app/users-server/loading.tsx23export default function LoadingPage() {4 return (5 <div className="flex items-center justify-center h-screen">6 <div className="animate-spin rounded-full h-32 w-32 border-t-2 border-b-2 border-white"></div>7 </div>8 );9}为了查看loading的效果,在users-server/page.tsx里面加一个延迟,如果不会就看前面学习的内容。看一下效果:
为了查看error的效果,将请求地址修改为错误的地址,查看:
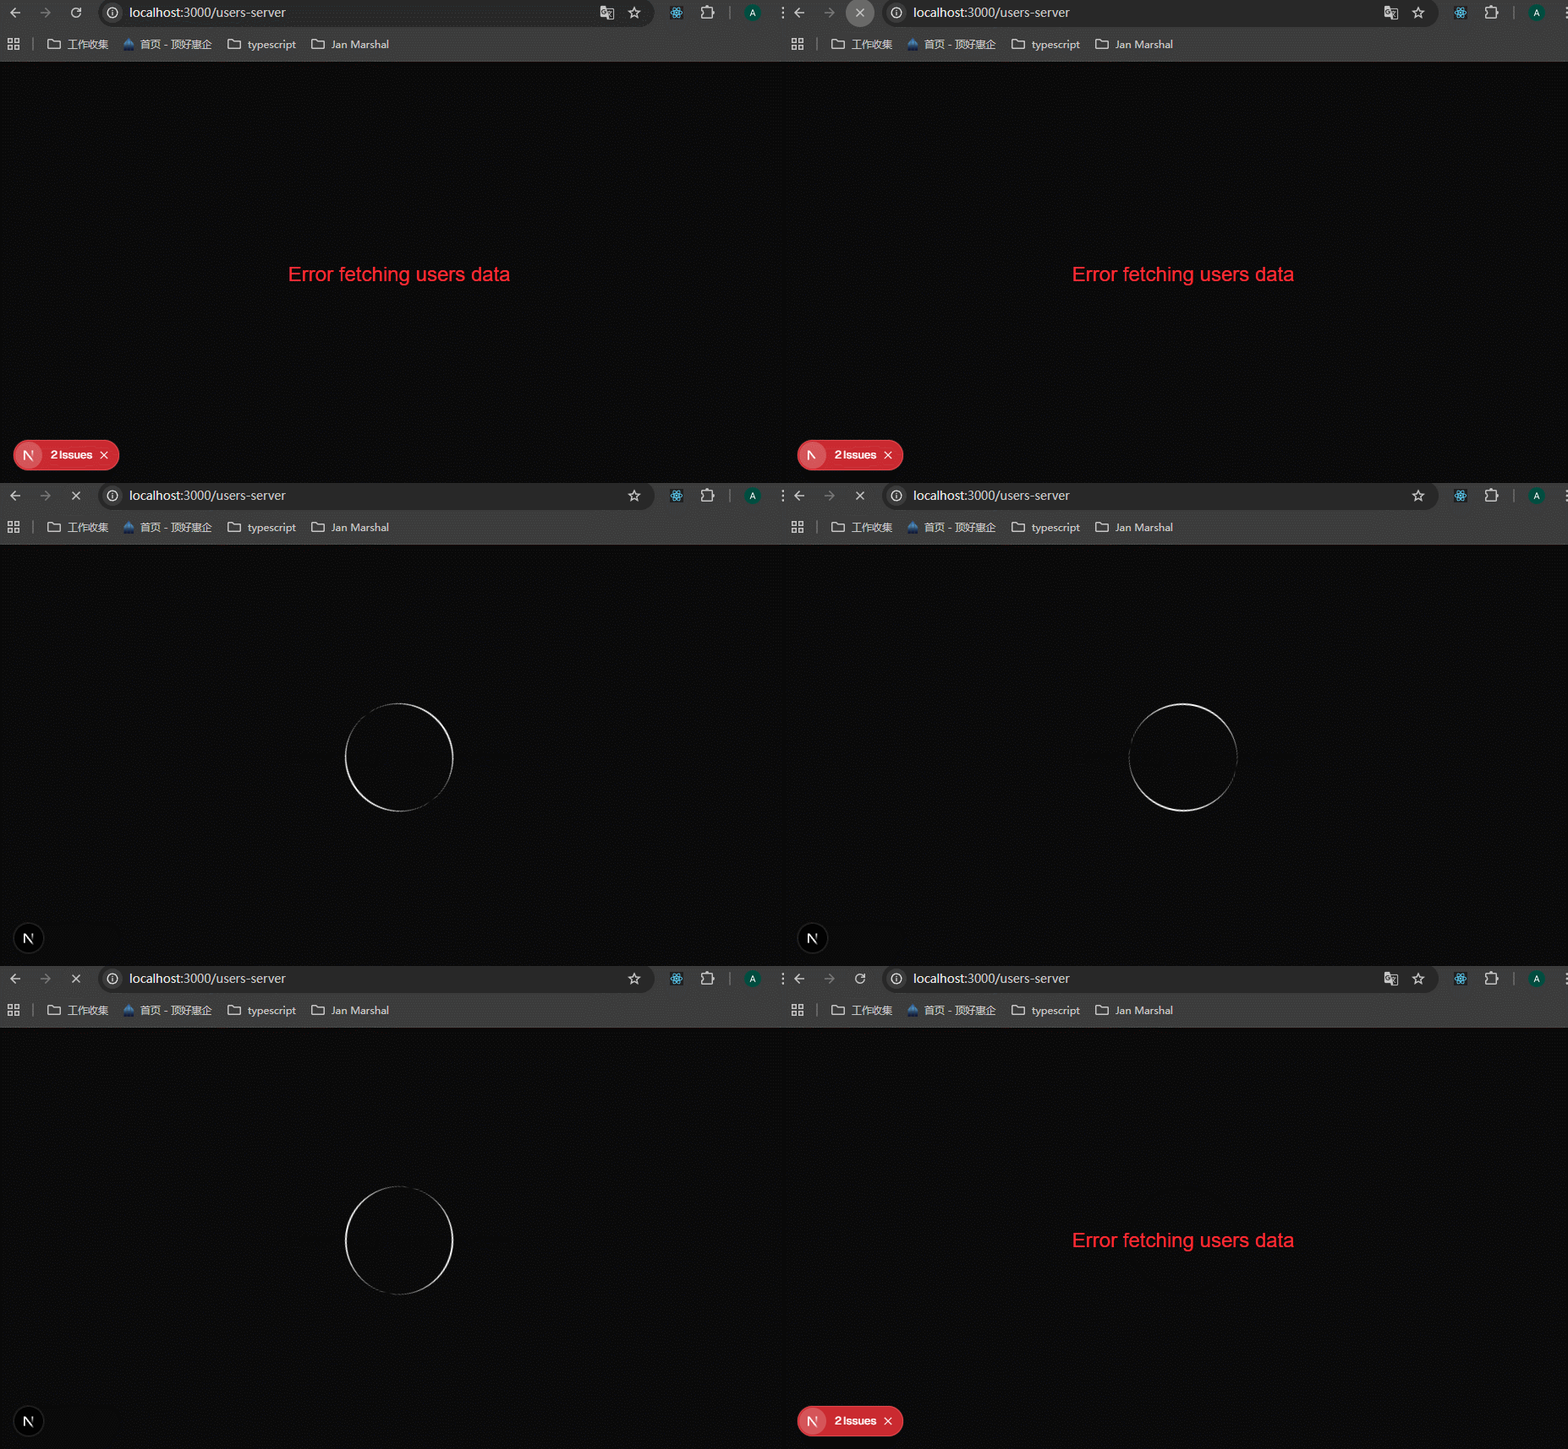
70-Sequential Data Fetching

并行请求是我们常做的,而顺序请求在一些情况下是必须的,比如说要先获取某个组织,然后获取某个组织下的人员列表。

下面专门讲解顺序请求。案例需求:获取所有博客,然后获取每一个博客里面的作者信息。

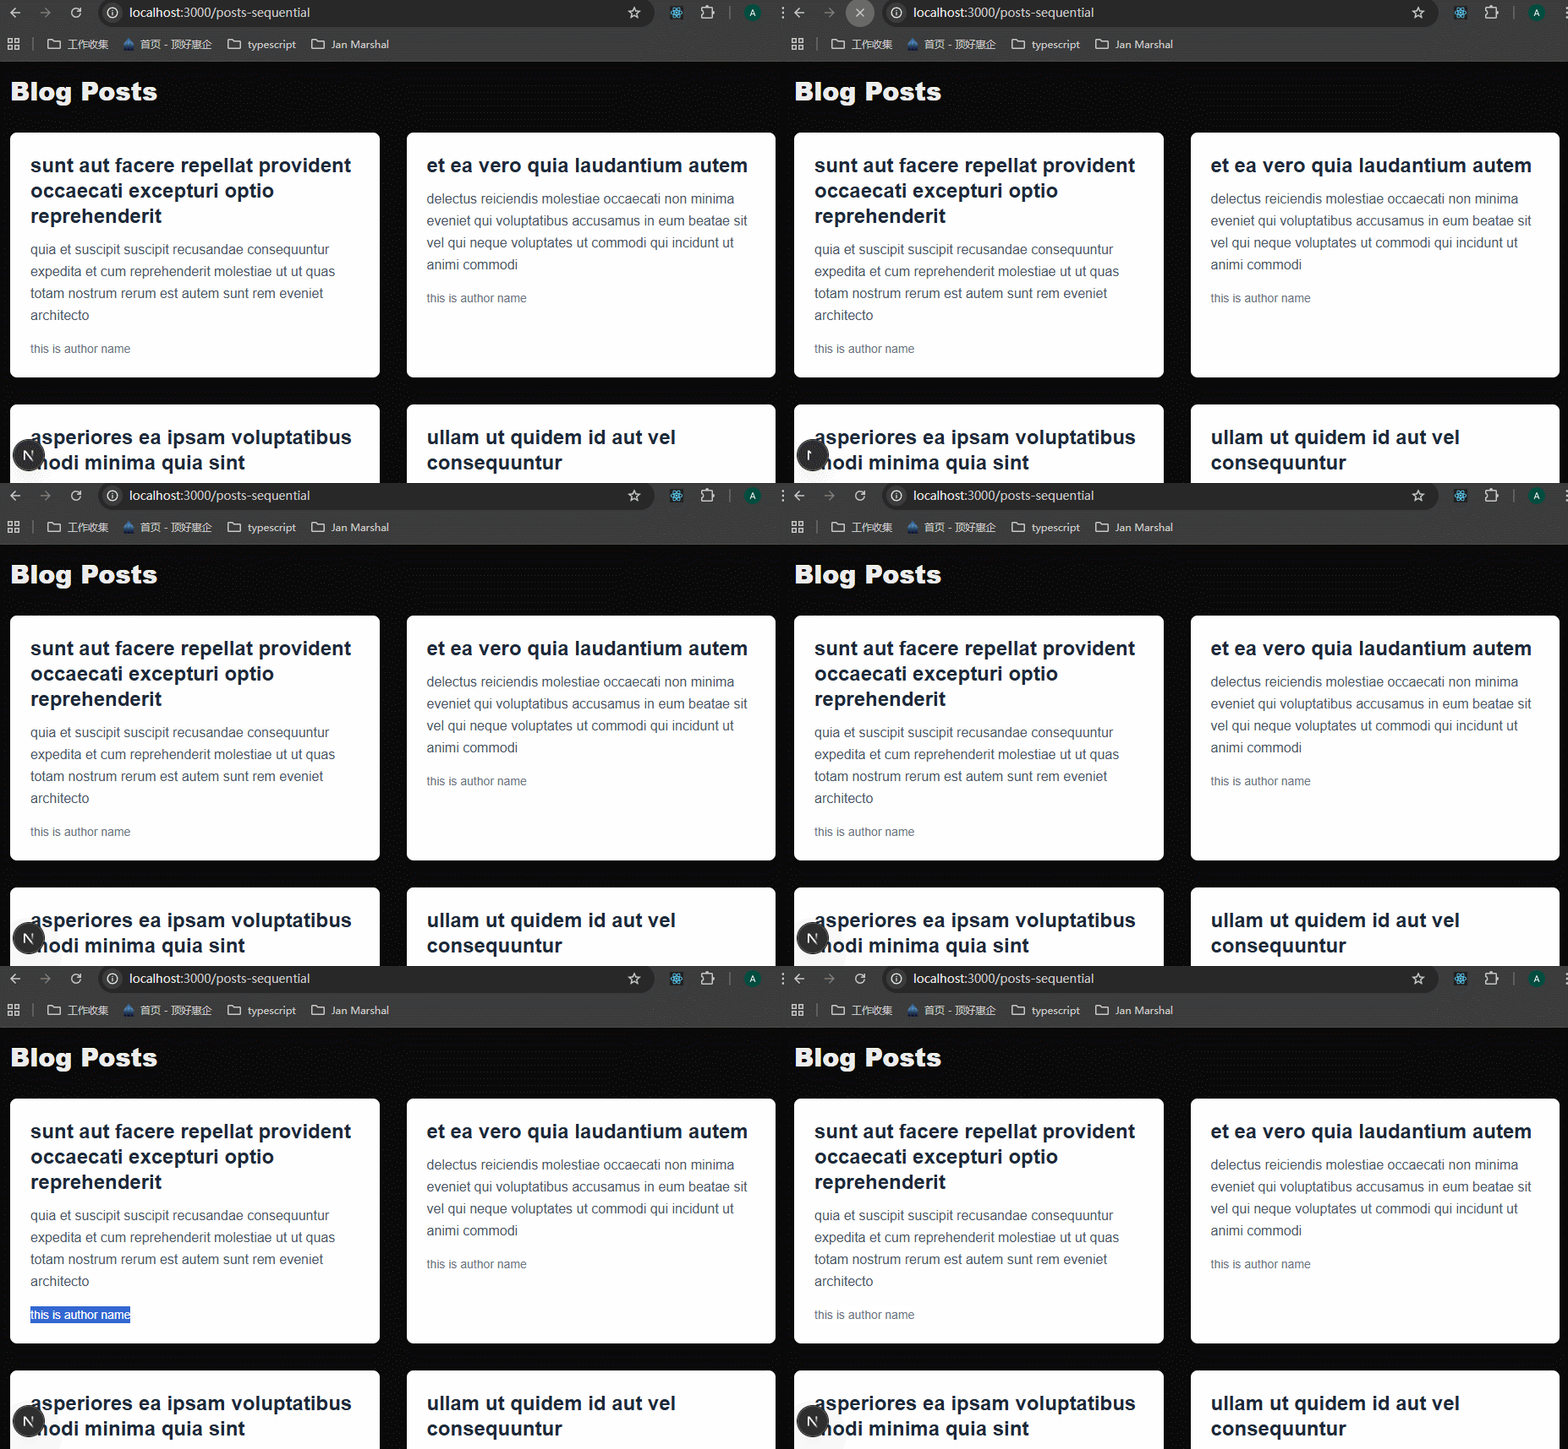
先创建博客列表页面:
xxxxxxxxxx331// data-fetching-demo/src/app/posts-sequential/page.tsx23type Post = {4 userId: number;5 id: number;6 title: string;7 body: string;8};910export default async function PostsPage() {11 const response = await fetch("https://jsonplaceholder.typicode.com/posts");12 const posts: Post[] = await response.json();1314 // 这里过滤是因为每个作者的博客有10个,所以选一个出来就可以了15 const filteredPosts = posts.filter((post) => post.id % 10 === 1);1617 return (18 <div className="p-4 max-w-7xl mx-auto">19 <h1 className="text-3xl font-extrabold mb-8">Blog Posts</h1>20 <div className="grid grid-cols-1 md:grid-cols-2 gap-8">21 {filteredPosts.map((post) => (22 <div key={post.id} className="bg-white shadow-md rounded-lg p-6">23 <h2 className="text-2xl font-bold mb-3 text-gray-800 leading-tight">24 {post.title}25 </h2>26 <p className="text-gray-600 mb-4 leading-relaxed">{post.body}</p>27 <div className="text-sm text-gray-500">this is author name</div>28 </div>29 ))}30 </div>31 </div>32 );33}查看效果:
下一步就是将每一个post里面的author name获取到,使用/users/1这个接口。怎么获取呢?这种写法之前还真的没有见识过,是编写一个author.tsx组件,父组件传递userId过去,再请求数据。
为什么可行呢?因为父组件里面使用了async...await,userId是肯定有的,那么在author.tsx里面请求数据就没有问题。
xxxxxxxxxx251// data-fetching-demo/src/app/posts-sequential/author.tsx23type User = {4 id: number;5 name: string;6 username: string;7 email: string;8};910export async function Author({ userId }: { userId: number }) {11 // await new Promise((resolve) => setTimeout(resolve, 1000));12 const response = await fetch(13 `https://jsonplaceholder.typicode.com/users/${userId}`14 );15 const user: User = await response.json();1617 return (18 <div className="text-sm text-gray-500">19 Written by:{" "}20 <span className="font-semibold text-gray-700 hover:text-gray-900 transition-colors">21 {user.name}22 </span>23 </div>24 );25}在父组件中使用author.tsx:

可以看到名字都显示出来了。

这里模仿一下获取name网速慢的情况,在author.tsx里面添加延迟操作await new Promise((resolve) => setTimeout(resolve, 3000));。
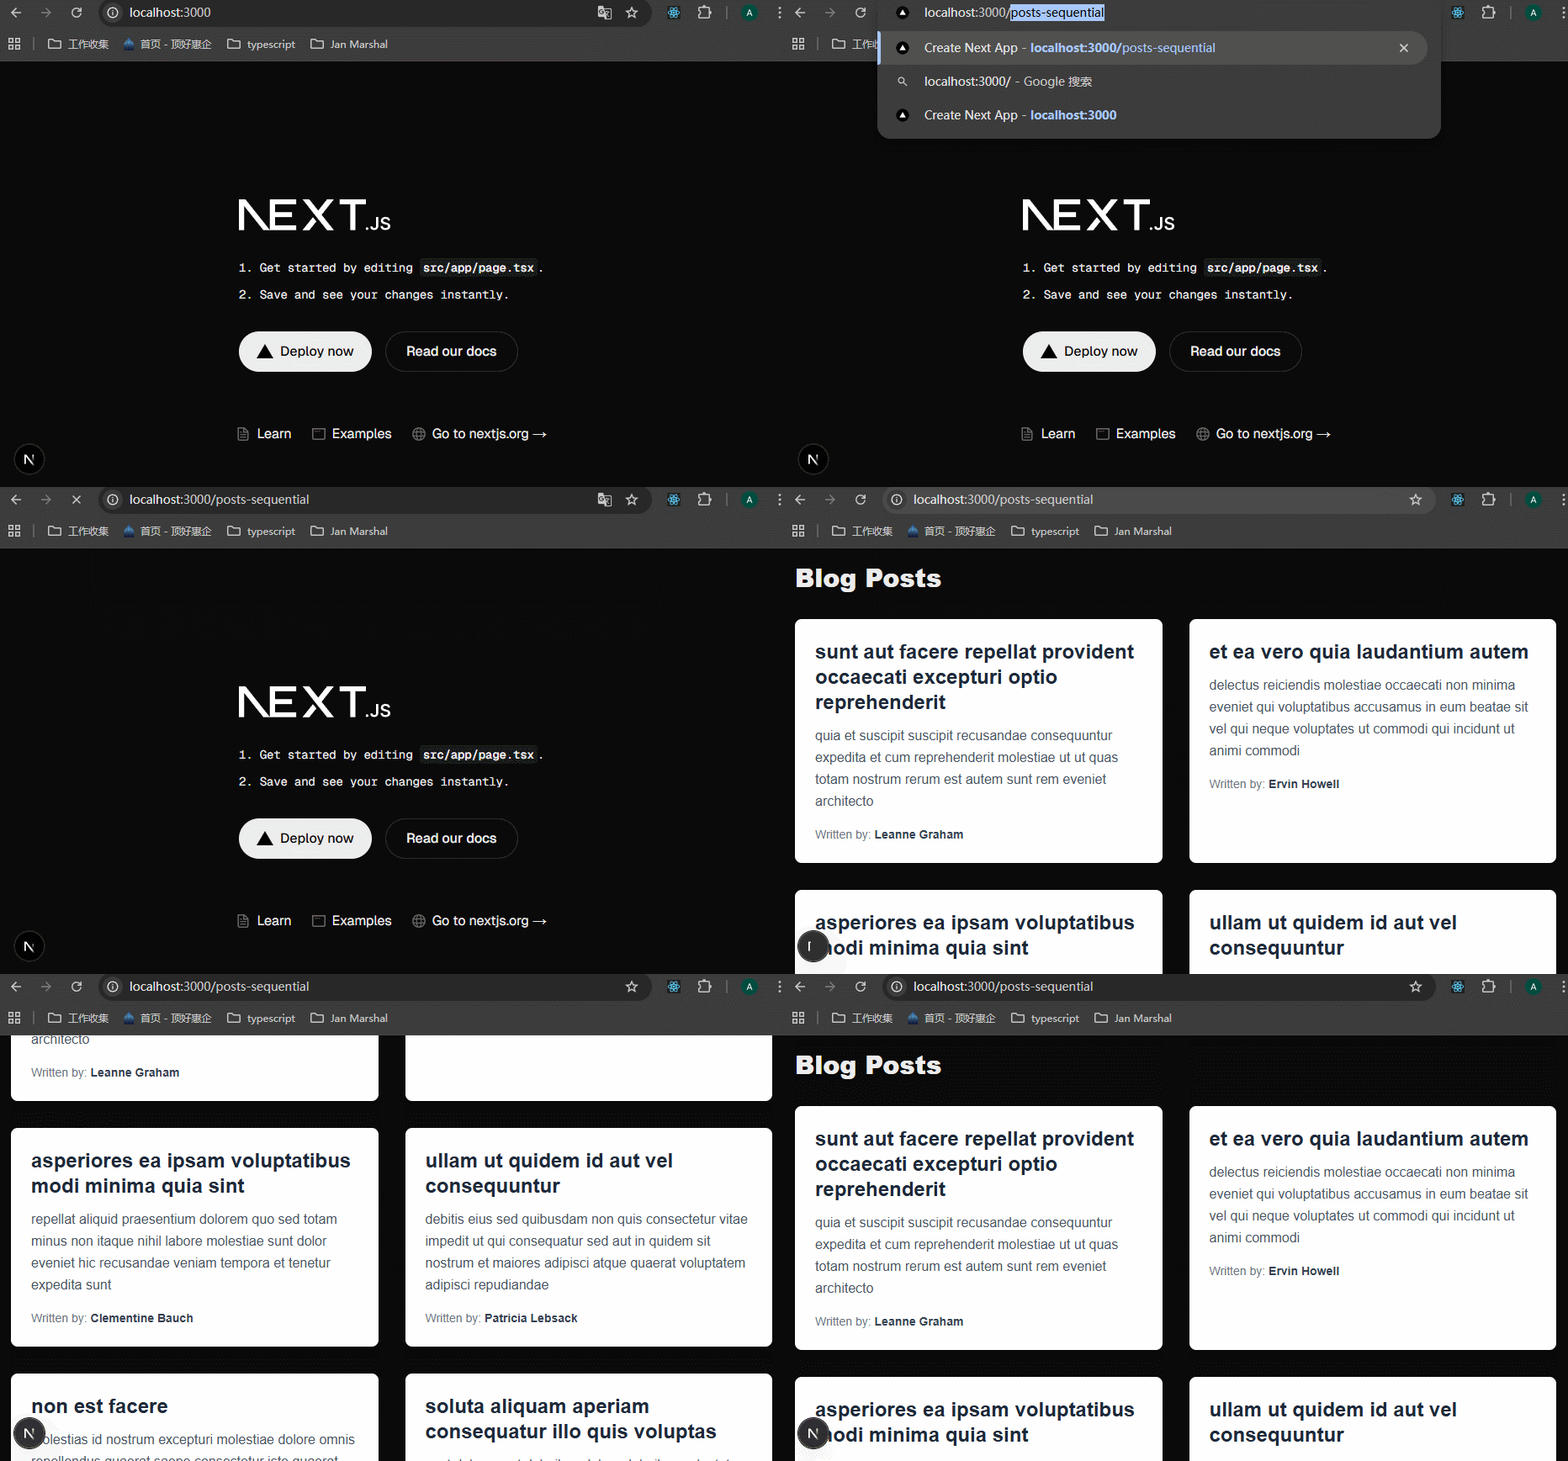
可以看到把整个页面的渲染都阻塞了,这时候就要想到使用Suspense来解决卡顿问题:

效果:
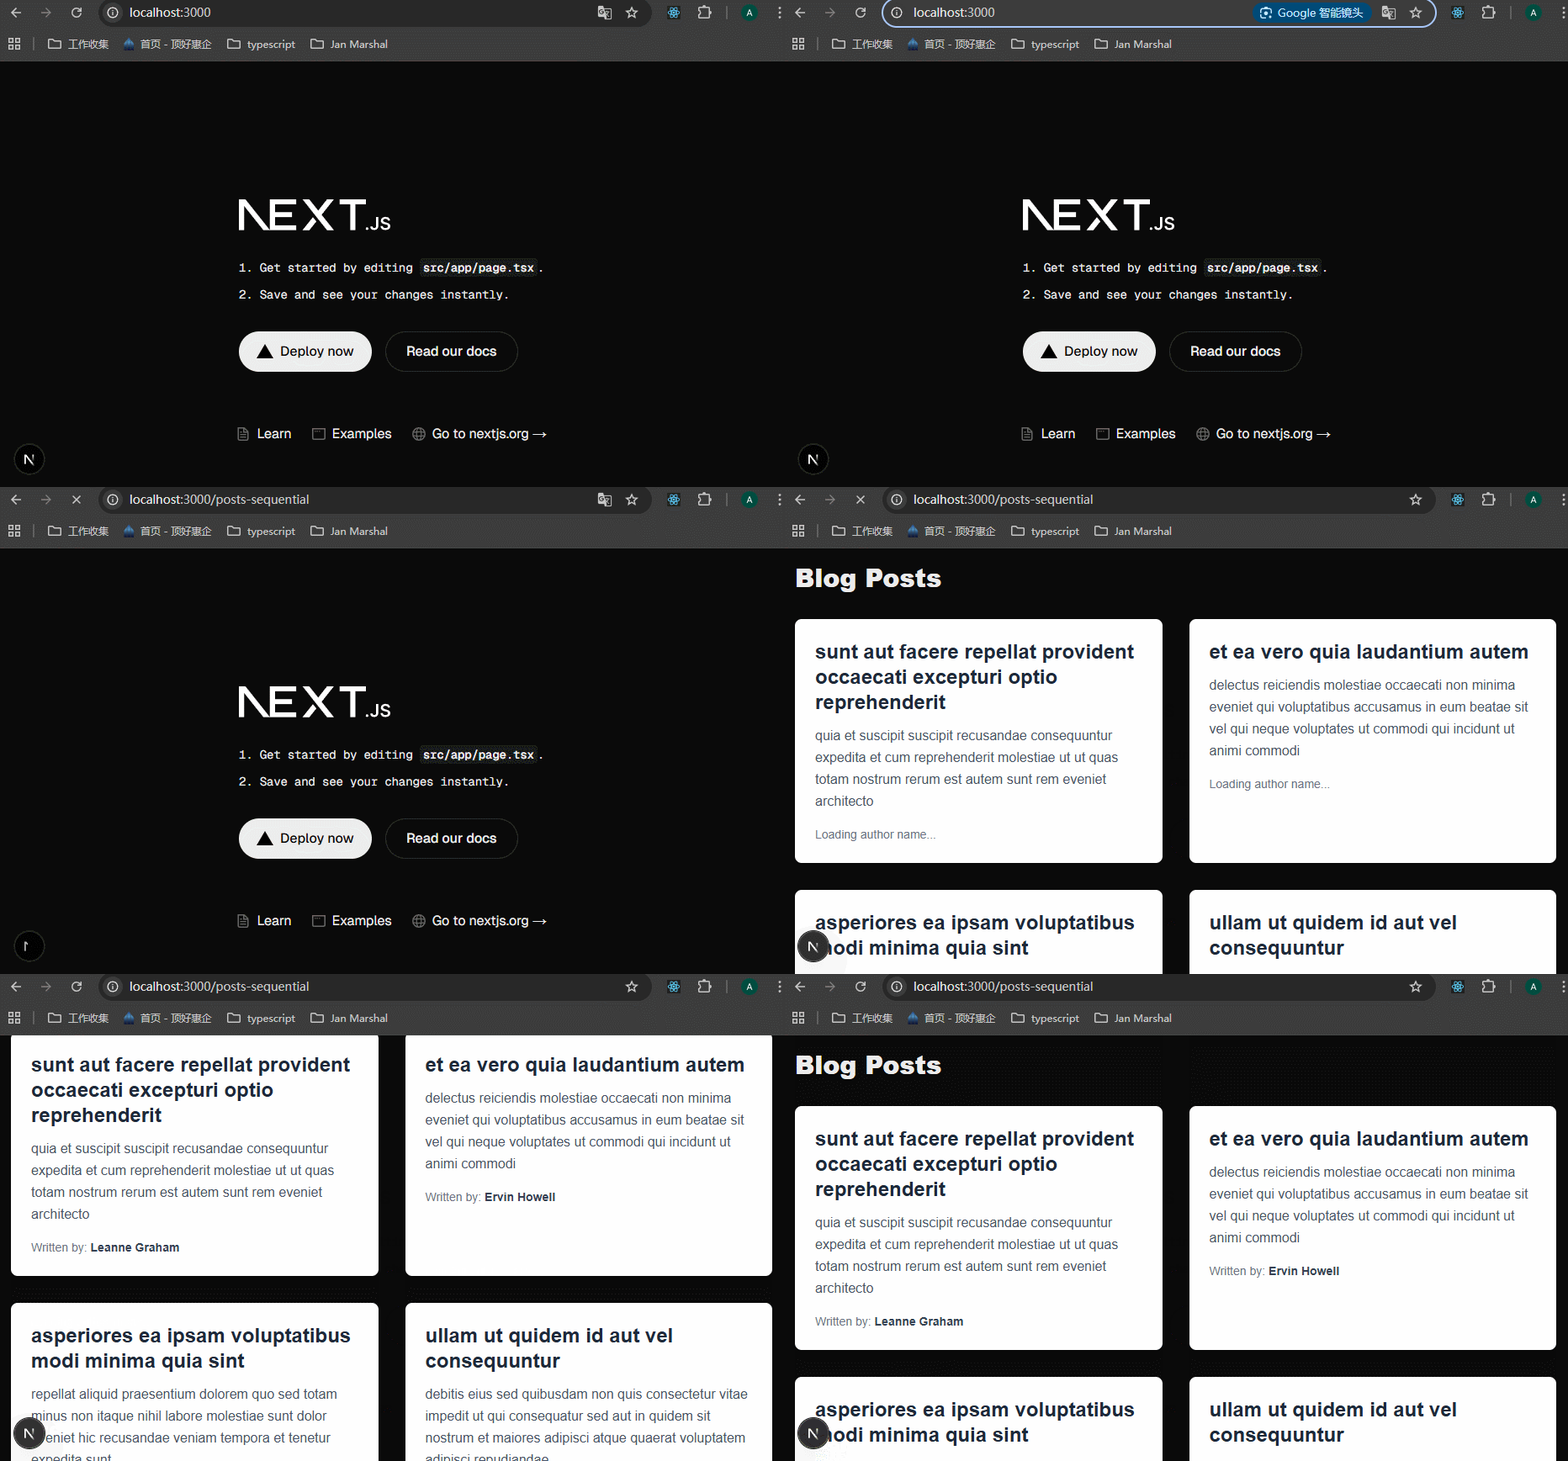
可以看到,虽然接口被阻塞了,但是其余的页面及时渲染了,这样的效果很好。
这个免费的API接口,浏览器可以使用,但是server component里面不能使用,找不到原因。放到API FOX上测试,显示:"Connection was forcibly closed by a peer"。链接被对方强制关闭了。
应该是有请求次数的限制,学习的时候老是出不了效果怎么办?还是自己做一个后端服务吧。我做了一个jsonplaceholder的服务端,一切都好起来了。
71-Parallel Data Fetching

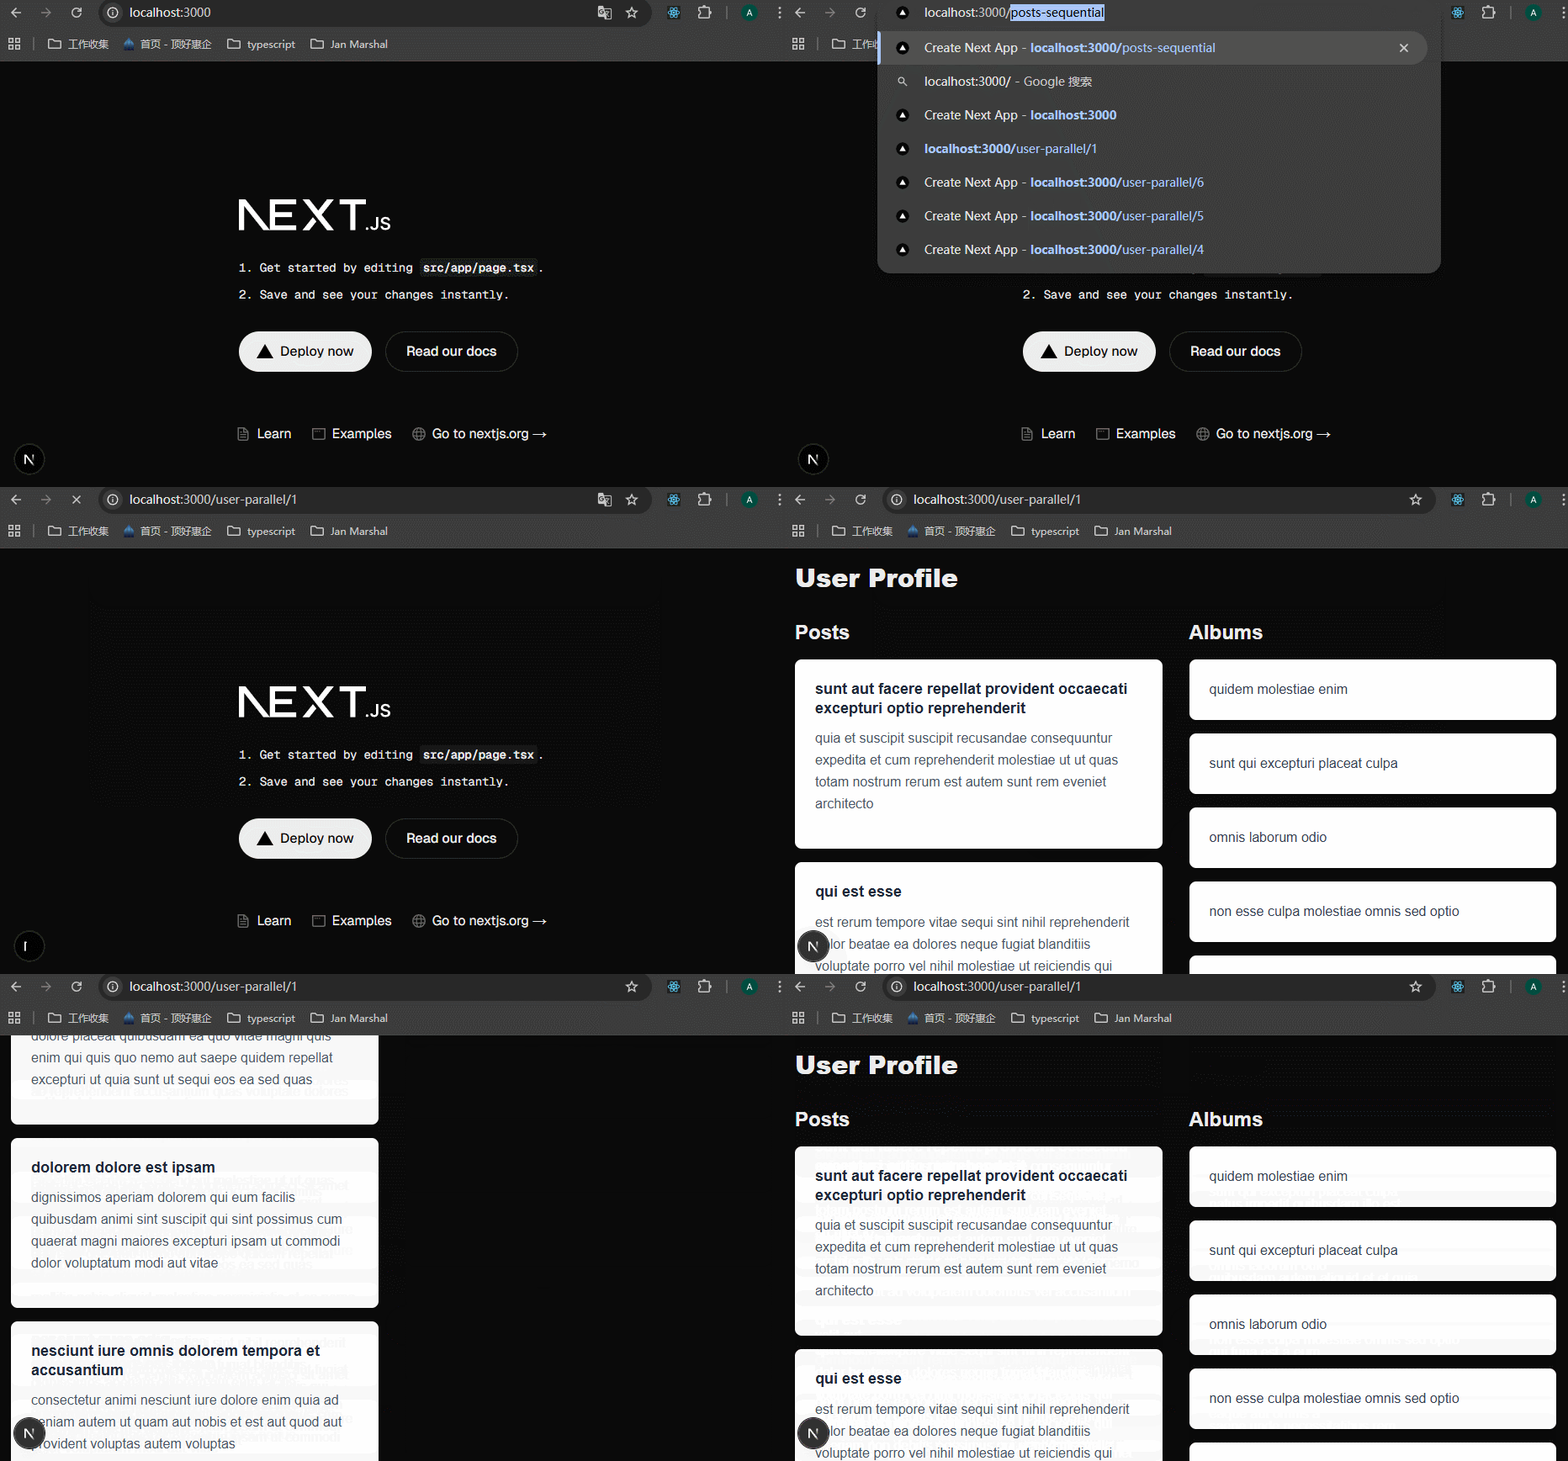
这个案例里面,展示同一个用户的posts和albums,这样请求/posts?userId=1,/albums?userId=1,那么当进入到用户详情页面时,这两个接口可以同时发起请求。这就是parallel data fetching的意义。
xxxxxxxxxx741// data-fetching-demo/src/app/user-parallel/[userId]/page.tsx23type Post = {4 userId: number;5 id: number;6 title: string;7 body: string;8}910type Album = {11 userId: number;12 id: number;13 title: string;14}1516// 将请求方法定义在组件代码外面17async function getUserPosts(userId: string) {18 const res = await fetch(`http://localhost:3001/api/posts?userId=${userId}`)1920 return res.json();21}2223async function getUserAlbums(userId: string) {24 const res = await fetch(`http://localhost:3001/api/albums?userId=${userId}`)2526 return res.json();27}2829export default async function UserParallel({30 params31}: {32 params: Promise<{ userId: string }>33}) {34 const { userId } = await params;3536 // 这里不使用两个await来请求,是因为await会阻塞请求。Promise.all会同时发起请求,这样就达到了parallel fetching data的效果37 const postsData = getUserPosts(userId);38 const albumsData = getUserAlbums(userId);3940 const [posts, albums] = await Promise.all([postsData, albumsData]);41 return (42 <div className="p-4 max-w-7xl mx-auto">43 <h1 className="text-3xl font-extrabold mb-8">User Profile</h1>44 <div className="grid grid-cols-1 md:grid-cols-2 gap-8">45 <div>46 <h2 className="text-2xl font-bold mb-4">Posts</h2>47 <div className="space-y-4">48 {posts.map((post: Post) => (49 <div key={post.id} className="bg-white shadow-md rounded-lg p-6">50 <h3 className="text-lg font-bold mb-3 text-gray-800 leading-tight">51 {post.title}52 </h3>53 <p className="text-gray-600 mb-4 leading-relaxed">54 {post.body}55 </p>56 </div>57 ))}58 </div>59 </div>6061 <div>62 <h2 className="text-2xl font-bold mb-4">Albums</h2>63 <div className="space-y-4">64 {albums.map((album: Album) => (65 <div key={album.id} className="bg-white shadow-md rounded-lg p-6">66 <p className="text-gray-700">{album.title}</p>67 </div>68 ))}69 </div>70 </div>71 </div>72 </div>73 )74}查看效果:
现在为每一种数据请求添加一个延时,并且添加loading效果。
xxxxxxxxxx91// data-fetching-demo/src/app/user-parallel/[userId]/loading.tsx23export default function LoadingPage() {4 return (5 <div className="flex items-center justify-center h-screen">6 <div className="animate-spin rounded-full h-32 w-32 border-t-2 border-b-2 border-white"></div>7 </div>8 );9}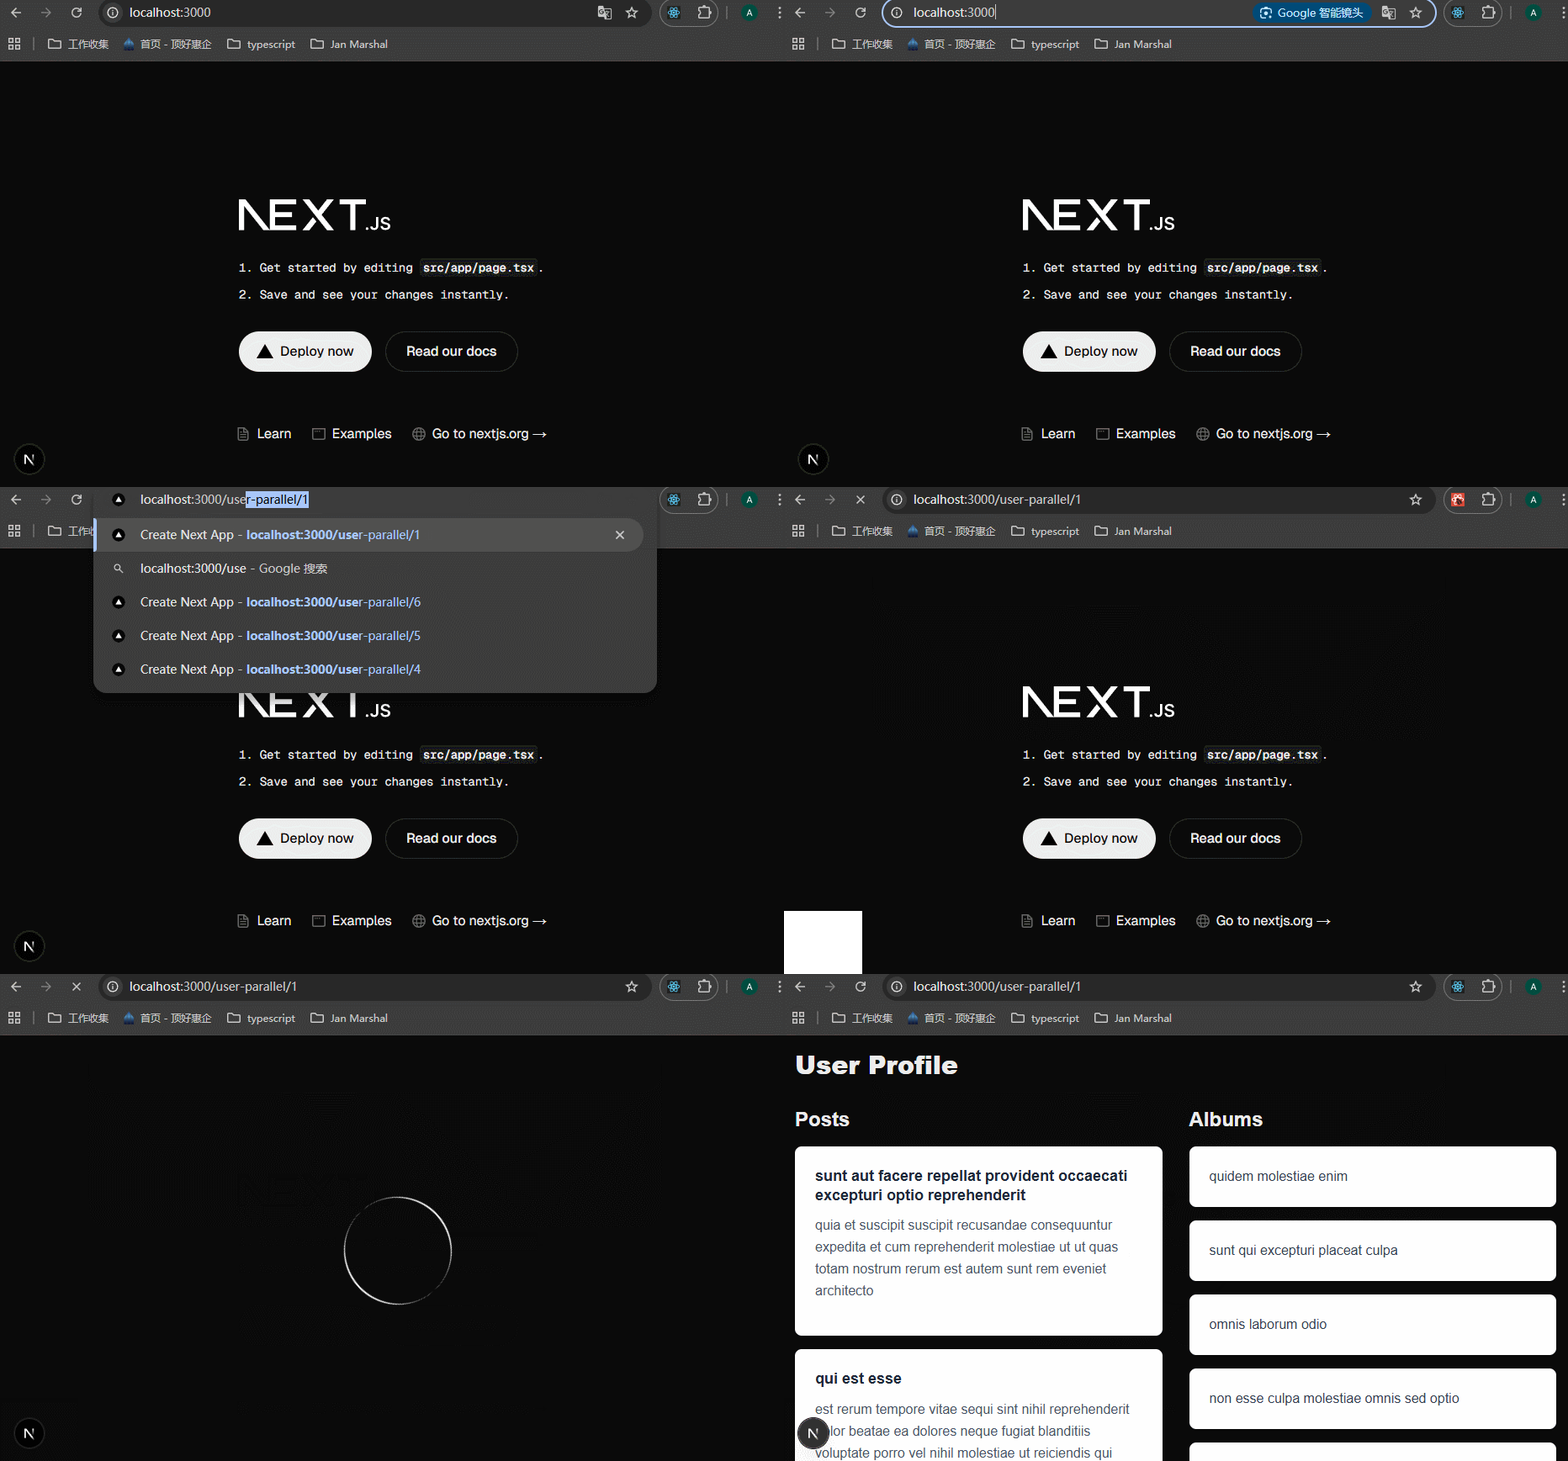


这是老师说的,但是后端能不能接受还需要询问。
这里有另外一点需要注意:
因为这里是server components,所以浏览器的network面板里面没有这两种数据请求,我是说怎么找都找不到呢。如果要调试的话,只能在terminal里面输出来看。
72-Fetching from a Database

这节课开始学习如何从数据库获取数据。

参考文档:https://www.prisma.io/docs/guides/nextjs。
下面的步骤是在nextjs中添加prisma和sqlite,这些步骤刚开始不熟悉是很正常的,多看、多用就会了。
1、npm i -D prisma安装prisma。
2、使用sqlite初始化prisma,npx prisma init --datasource-provider sqlite。这个命令报错。

解决办法:执行这个代码:npx prisma init。会在项目的根目录生成一个prisma/schema.prisma的文件,修改里面的内容如下:
xxxxxxxxxx211// This is your Prisma schema file,2// learn more about it in the docs: https://pris.ly/d/prisma-schema34// Looking for ways to speed up your queries, or scale easily with your serverless or edge functions?5// Try Prisma Accelerate: https://pris.ly/cli/accelerate-init67generator client {8provider = "prisma-client-js"9}1011datasource db {12provider = "sqlite"13url = "file:./dev.db"14}1516model Product {17id Int @id @default(autoincrement())18title String19price Int20description String?21}
重要的就是修改datasource db里面的内容,provider改为sqlite,url就是db文件的地址,注意generate client里面的output属性,需要去掉。
问了grok。
默认行为:如果不指定 output,Prisma 会自动将生成的客户端代码放到 node_modules/.prisma/client 目录中。这是最常见的设置,尤其在标准 Next.js 项目中。它不会污染你的源代码目录(如 src),并且在运行 npx prisma generate 时会自动处理。
这一步没有安装sqlite,难道不需要安装吗?

3、npx prisma migrate dev --name init,生成prisma迁移和客户端。
prisma使用迁移来同步模型到数据库。如果以后新增、修改、删除了schema.prisma里面的modal,需要使用这个命令来更新。
这一步执行之后,会在prisma文件夹里面生成这些文件,生成了这些文件之后,下一步就可以使用了。
注意开发过程中要将生成的.dev.db文件放入到.gitignore中去,因为数据库文件一般不放入git。

4、创建src/prisma-db.ts文件,在里面编写数据库操作的代码。不要管里面的await new Promise的延时代码,这些只是为了模拟的:
xxxxxxxxxx731// src/prisma-db.ts23import { PrismaClient } from "@prisma/client";4const prisma = new PrismaClient();56const seedProducts = async () => {7 const count = await prisma.product.count();8 if (count === 0) {9 await prisma.product.createMany({10 data: [11 { title: "Product 1", price: 500, description: "Description 1" },12 { title: "Product 2", price: 700, description: "Description 2" },13 { title: "Product 3", price: 1000, description: "Description 3" },14 ],15 });16 }17};1819// Run seed if needed 每次引用这个prisma-db.ts文件,都会执行这个函数。但里面加了判断,只有数量为 0 的时候才会新增。20seedProducts();2122export async function getProducts(query?: string) {23 await new Promise((resolve) => setTimeout(resolve, 1500));24 if (query) {25 return prisma.product.findMany({26 where: {27 OR: [28 { title: { contains: query } },29 { description: { contains: query } },30 ],31 },32 });33 }34 return prisma.product.findMany();35}3637export async function getProduct(id: number) {38 await new Promise((resolve) => setTimeout(resolve, 1500));39 return prisma.product.findUnique({40 where: { id },41 });42}4344export async function addProduct(45 title: string,46 price: number,47 description: string48) {49 await new Promise((resolve) => setTimeout(resolve, 1500));50 return prisma.product.create({51 data: { title, price, description },52 });53}5455export async function updateProduct(56 id: number,57 title: string,58 price: number,59 description: string60) {61 await new Promise((resolve) => setTimeout(resolve, 1500));62 return prisma.product.update({63 where: { id },64 data: { title, price, description },65 });66}6768export async function deleteProduct(id: number) {69 await new Promise((resolve) => setTimeout(resolve, 1500));70 return prisma.product.delete({71 where: { id },72 });73}5、在server components里面使用prisma。直接使用定义好的方法。
xxxxxxxxxx311// data-fetching-demo/src/app/products-db/page.tsx23import { getProducts } from "@/prisma-db";45export type Product = {6 id: number;7 title: string;8 price: number;9 description: string | null;10};1112export default async function ProductsPrismaDBPage() {13 const products: Product[] = await getProducts();1415 return (16 <ul className="space-y-4 p-4">17 {products.map((product) => (18 <li19 key={product.id}20 className="p-4 bg-white shadow-md rounded-lg text-gray-700"21 >22 <h2 className="text-xl font-semibold">23 {product.title}24 </h2>25 <p>{product.description}</p>26 <p className="text-lg font-medium">${product.price}</p>27 </li>28 ))}29 </ul>30 )31}效果:
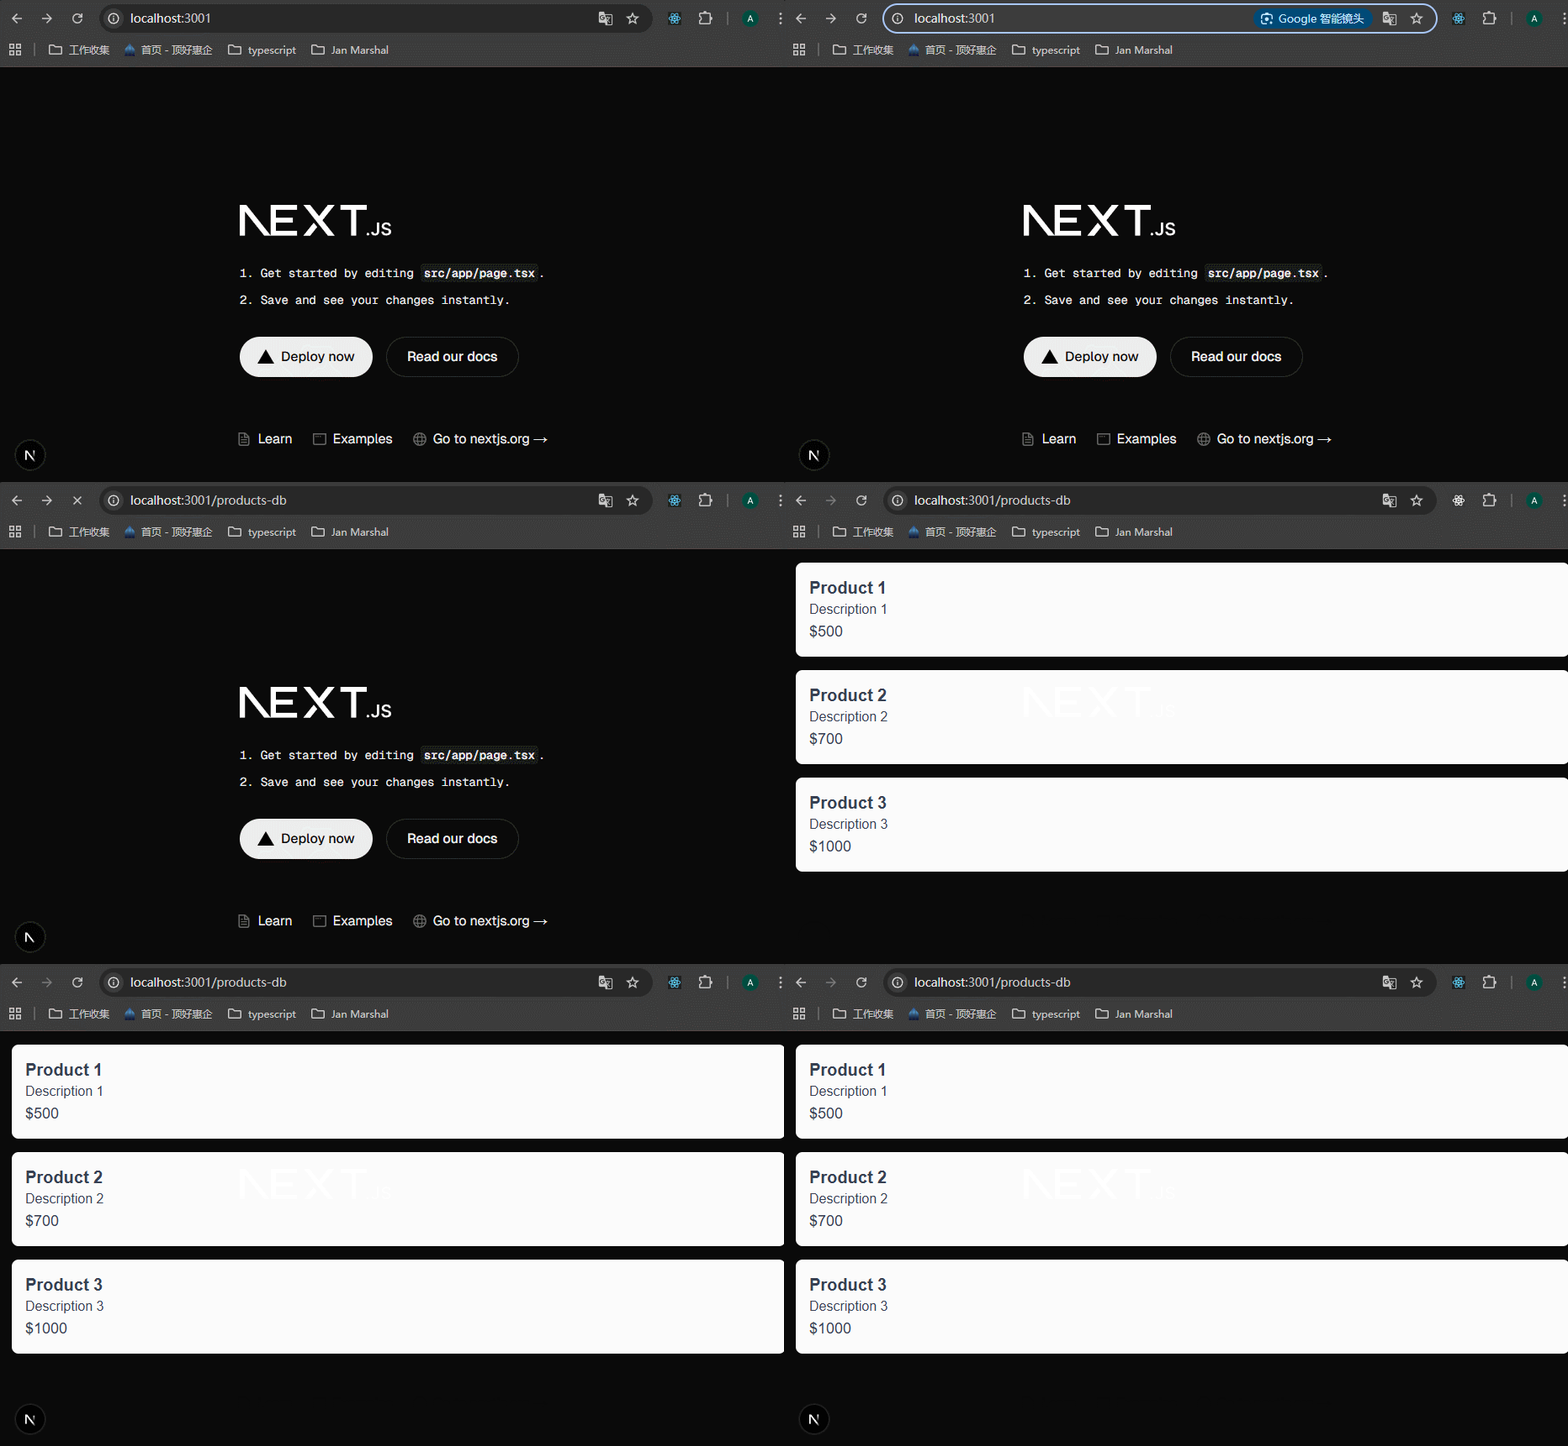
这里有一个卡顿,是因为加了await new Promise。实际上是很快的。
这里的从数据库获取数据和我想象的不太一样,或许这就是以前的前后端不分离的做法,但是我之前并没有见过。
我想象的还是编写后端接口,前端使用axios或者fetch来调用接口。没有想到这里是直接使用方法名了。
实际上还是可以先定义route.ts,在里面使用prisma,然后在组件里面调用接口。不过直接调用方法名是更简单的做法。具体还是看项目需求。我肯定是直接使用方法名了。
2025.12.01
不要直接使用方法名,还是要使用route handlers,除了纯GET请求之外,其余的都要使用route.ts来定义接口,因为nextjs为route提供了很多优化项。
2026-01
可以直接在server components里面操作数据库来获取数据,GET方法是没有问题的。如果遇到create、update、delete这些操作,则要使用server actions。
2025-10-22 今天想专门学习prisma,看到web dev simplified这个老师讲解的配置prisma的过程,和Codevolution的一致,而且配置的没有问题。我决定重新使用Codevolution老师在课上的配置方式来试一下,结果真的可以。搞懂了prisma定义的相关规则之后,配置起来就没有问题了,直接参考prisma的文档:https://www.prisma.io/docs/getting-started/prisma-orm/quickstart/sqlite,这个文档已经够清楚了。
73-Data Mutations
data mutations是什么意思?数据突变?可以理解为数据CUD的操作,相当于nextjs提出的一种专有名词,显得有逼格。


首先让我们看一下在react里面,怎么实现数据的CUD。
新建app/react-form/page.tsx,app/react-form/api/route.ts。
xxxxxxxxxx721// app/react-form/page.tsx23"use client";45import { useRouter } from "next/navigation";6import { useState } from "react";78export default function CreateProduct() {9 const [title, setTitle] = useState("");10 const [price, setPrice] = useState("");11 const [description, setDescription] = useState("");12 const [loading, setLoading] = useState(false);1314 const router = useRouter();1516 const handleSubmit = async (e: React.FormEvent<HTMLFormElement>) => {17 e.preventDefault();18 setLoading(true);19 try {20 const response = await fetch("/react-form/api", {21 method: "POST",22 headers: { "Content-Type": "application/json" },23 body: JSON.stringify({ title, price, description }),24 });25 if (response.ok) {26 router.push("/products-db");27 }28 } catch (error) {29 console.error("Error:", error);30 } finally {31 setLoading(false);32 }33 };3435 return (36 <form onSubmit={handleSubmit} className="p-4 space-y-4 max-w-96">37 <label className="text-white">38 Title39 <input40 type="text"41 className="block w-full p-2 text-black border rounded"42 name="title"43 onChange={(e) => setTitle(e.target.value)}44 />45 </label>46 <label className="text-white">47 Price48 <input49 type="number"50 className="block w-full p-2 text-black border rounded"51 name="price"52 onChange={(e) => setPrice(e.target.value)}53 />54 </label>55 <label className="text-white">56 Description57 <textarea58 className="block w-full p-2 text-black border rounded"59 name="description"60 onChange={(e) => setDescription(e.target.value)}61 />62 </label>63 <button64 type="submit"65 className="block w-full p-2 text-white bg-blue-500 rounded disabled:bg-gray-500"66 disabled={loading}67 >68 {loading ? "Submitting..." : "Submit"}69 </button>70 </form>71 );72}xxxxxxxxxx121// app/react-form/api/route.ts23import { addProduct } from "@/prisma-db";45export async function POST(request: Request) {6 const body = await request.json();7 const { title, price, description } = body;8 const product = await addProduct(title, parseInt(price), description);9 return new Response(JSON.stringify(product), {10 headers: { "Content-Type": "application/json" },11 });12}可以看到,page.tsx里面定义的变量有很多,不过整个流程看起来确实还是蛮清晰的。
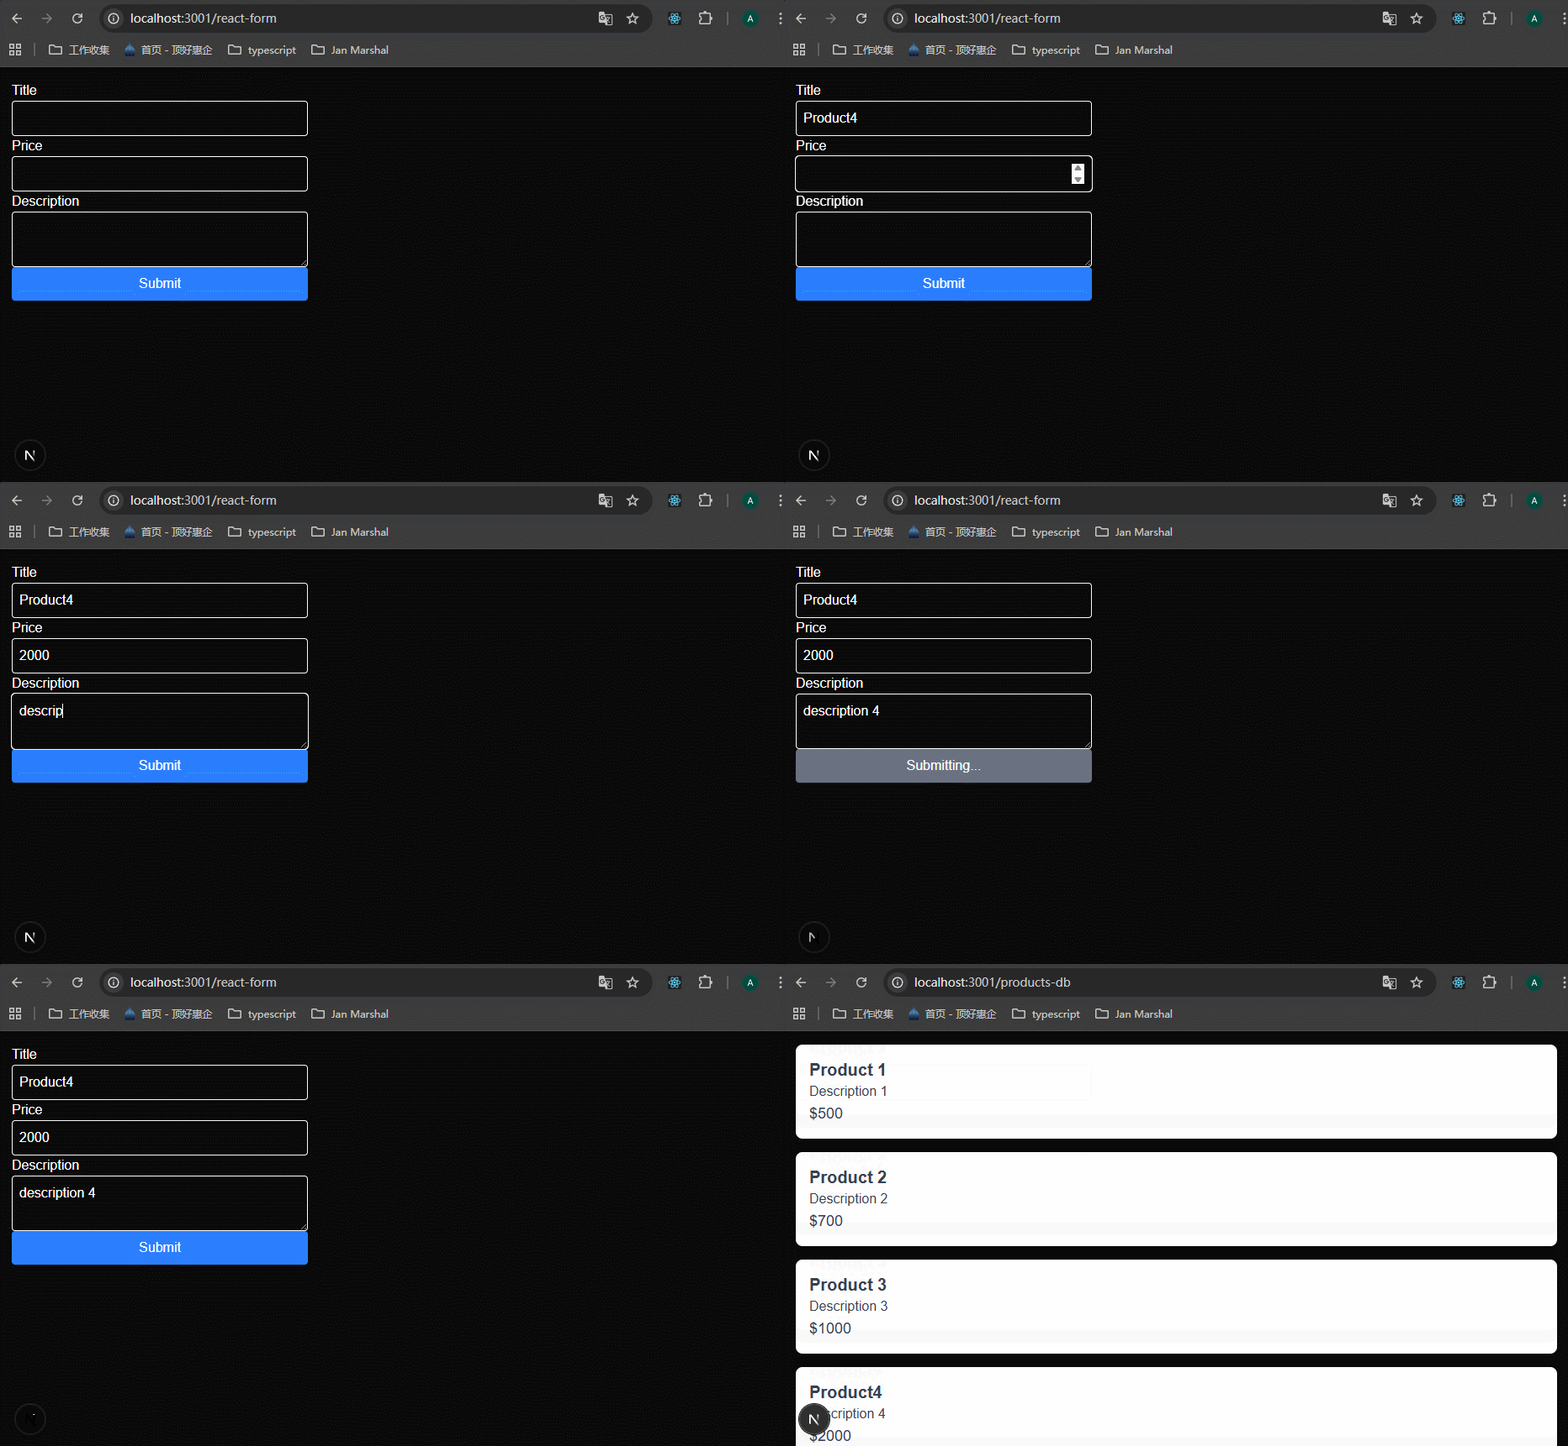
可以看到有一个小卡顿,这是因为接口里面写了await new Promise的原因,后面会解决这个问题。
74-Forms with Server Actions
server actions适合<10 个字段、无文件、无条件逻辑这样的场景,如果是复杂场景,就直接使用client components吧,不要成为了nextjs的“适配器”,不值得。
几个概念需要注意:
- server action 是 React 框架的一个核心协议(RFC),而 Next.js 是第一个将其大规模实现并推向生产环境的框架。不用误以为是nextjs里面的独家概念。
- server action可以用在server components里面,也可以用在client components里面。不用被名称误导了。


server actions的约定如下:
1、在async function里面的顶部(这里老师的英文说的不准确),使用"use server";来标记这个函数是server action。
2、在一个单独的文件里面,顶部使用"use server";,来标记这个文件导出的所有函数都是server actions。
3、server action函数,要写在form标签的action属性上。
有了server action,可以做什么呢?下面以一个案例来说明,还是新增product的需求。
新建products-db-create/page.tsx,从react-form/page.tsx里面复制return的内容,把里面的onSubmit、onChange事件,loading变量都去掉,变成这样:
xxxxxxxxxx371// products-db-create/page.tsx23export default function AddProductPage() {4 return (5 <form className="p-4 space-y-4 max-w-96">6 <label className="text-white">7 Title8 <input9 type="text"10 className="block w-full p-2 text-white border rounded"11 name="title"12 />13 </label>14 <label className="text-white">15 Price16 <input17 type="number"18 className="block w-full p-2 text-white border rounded"19 name="price"20 />21 </label>22 <label className="text-white">23 Description24 <textarea25 className="block w-full p-2 text-white border rounded"26 name="description"27 />28 </label>29 <button30 type="submit"31 className="block w-full p-2 text-white bg-blue-500 rounded disabled:bg-gray-500"32 >33 Add Product34 </button>35 </form>36 );37}在组件内创建server action函数,在函数内部的顶部使用"use server"来标记。
xxxxxxxxxx101// products-db-create/page.tsx23export default function AddProductPage() {4 async function createProduct(){5 "use server";6 }7 return (8 9 );10}下一步,将函数赋值给form的action属性,将函数和form连接起来。
xxxxxxxxxx121// products-db-create/page.tsx23export default function AddProductPage() {4 async function createProduct(){5 "use server";6 }7 return (8 <form action={createProduct} className="p-4 space-y-4 max-w-96">9 ...10 </form>11 );12}当有人提交表单时,createProduct函数会自动接收form data作为参数,将参数接收之后,就可以直接调用prisma的方法。
xxxxxxxxxx201// products-db-create/page.tsx23import { addProduct } from "@/prisma-db";4import { redirect } from "next/navigation";56export default function AddProductPage() {7 async function createProduct(formData: FormData){8 "use server";910 const title = formData.get("title") as string;11 const price = formData.get("price") as string;12 const description = formData.get("description") as string;1314 await addProduct(title, parseInt(price), description)15 redirect("/products-db")16 }17 return (18 19 );20}注意:为什么formData里面可以获取到具体的form-item的值?因为无论是input还是textarea,都指定了name属性,就是根据name属性获取的值。
查看效果:
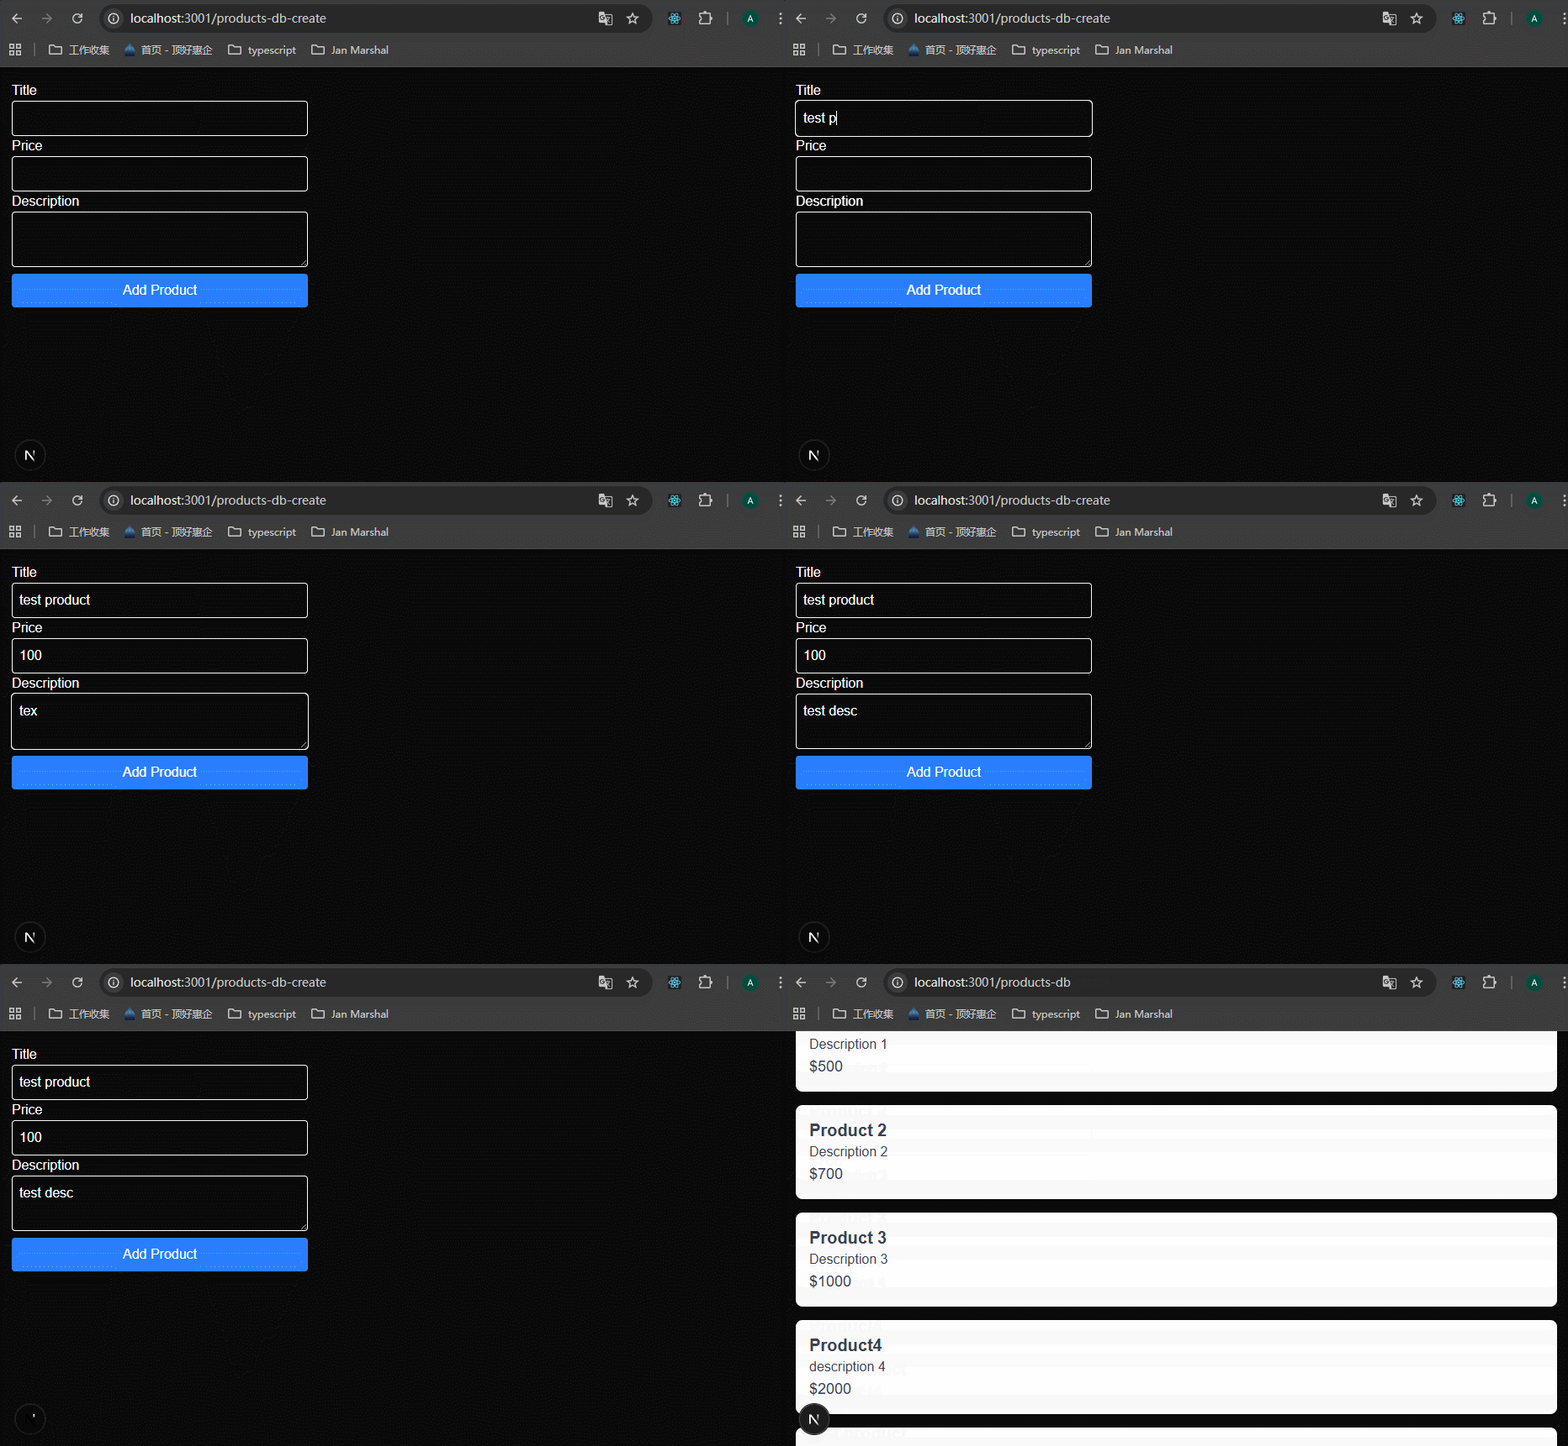
可以看到提交成功了。
以下是server actions的好处:

下面就第4点好处来说明,打开/products-db-create页面,在Sources面板里面,使用ctrl+shift+p,输入disable javascript禁用js。

然后查看是否能够正常提交表单。
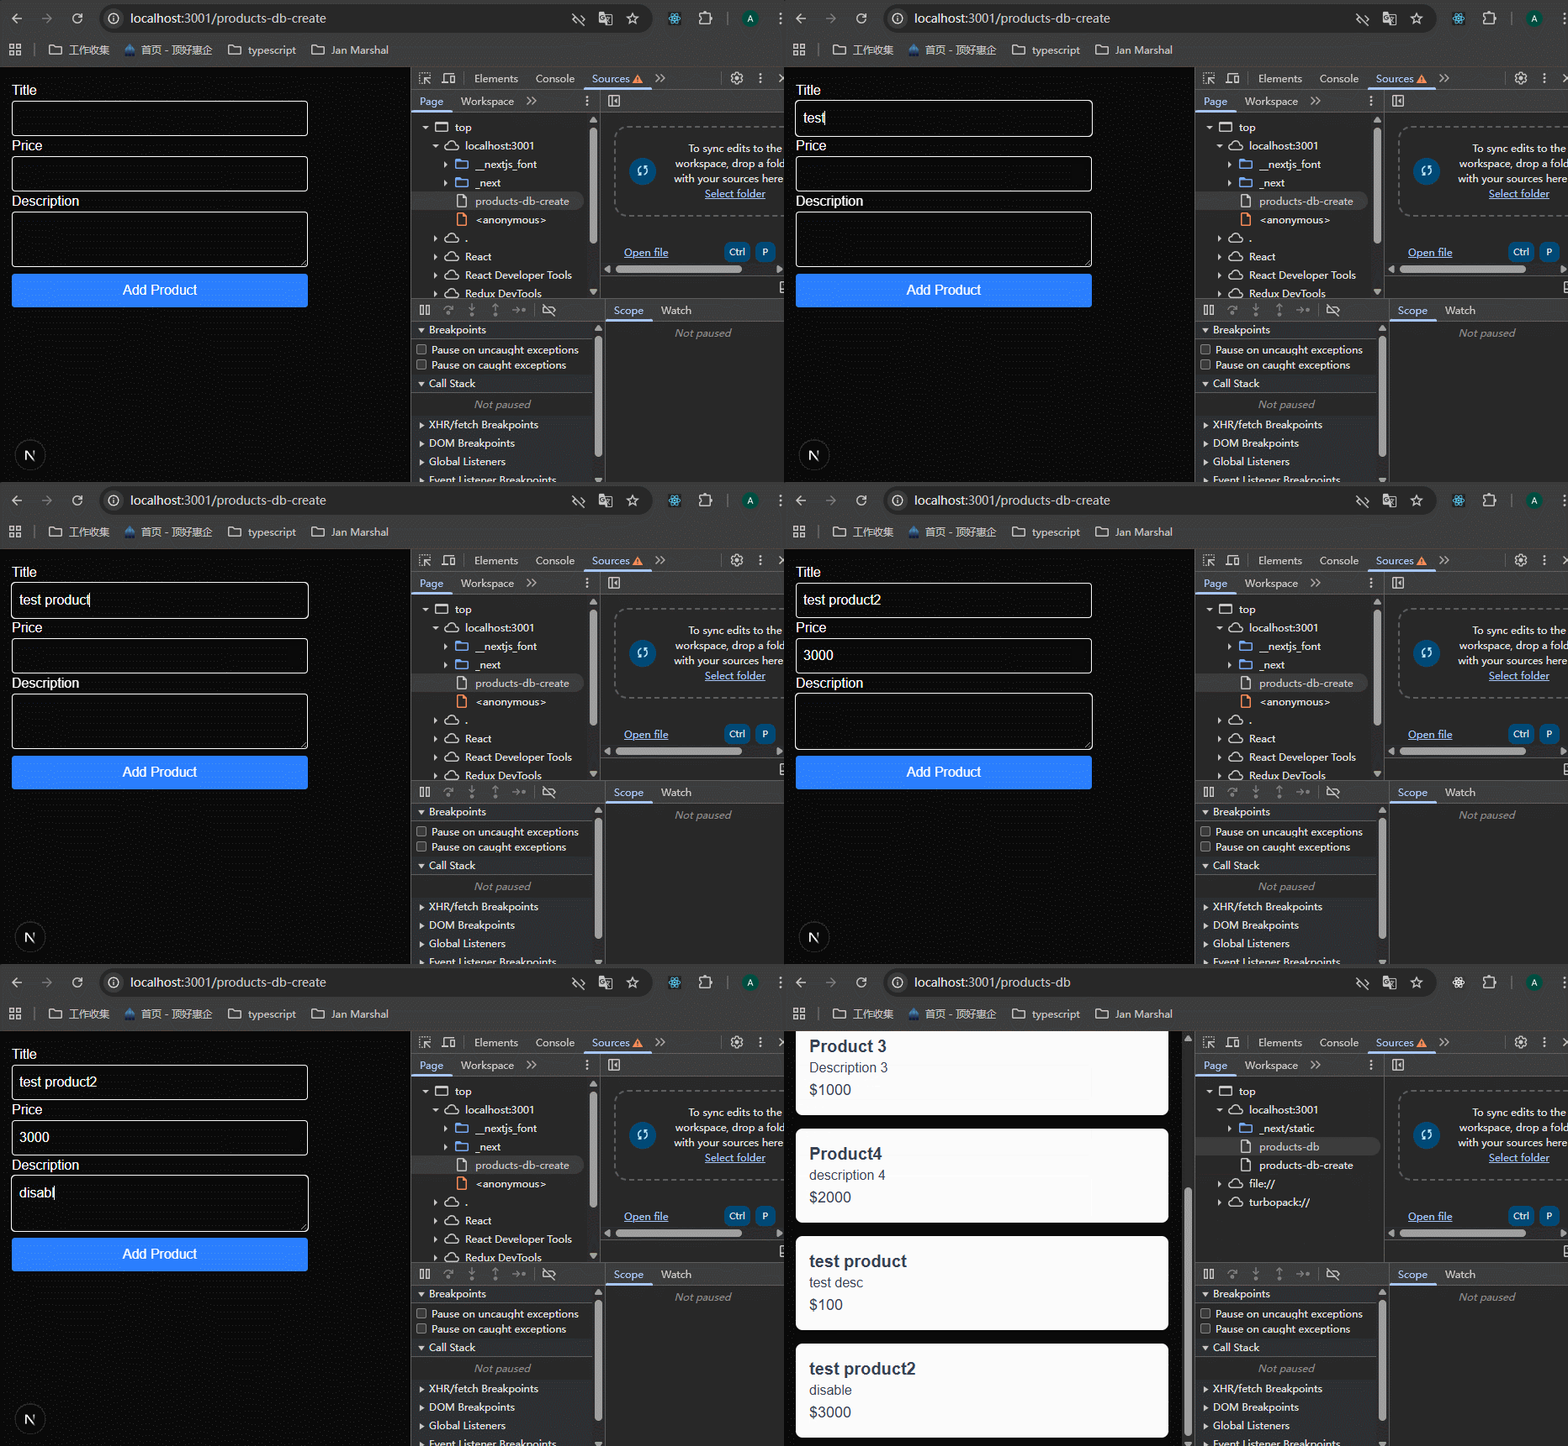
可以看到能够正常提交表单。使用ctrl+shift+p,输入enable javascript,启用js。
下面是server actions的一些好处,更加复杂的server actions概念,我放到了一个单独的文档里面去了,查看即可。
从第73节课可以看到,client component里面操作表单还是蛮复杂的,要定义和处理很多变量。那么我有一个疑问:与传统方法相比,server actions做了哪些,然后程序员就不需要做了?
- 无需手动编写 API 路由 (Endpoints)
- 传统做法: 你必须在
pages/api或app/api下创建一个专门的文件(如route.ts),定义POST方法,然后解析请求体。- Server Actions 做了什么: 当你给函数加上
"use server"时,Next.js 会在编译阶段自动生成一个隐藏的 API 端口。- 你不需要做了: 不再需要管理复杂的路由树,不再需要思考“这个接口该叫
update-user还是user-update”。
- 无需处理 JSON 序列化与反序列化
传统做法: * 前端:
JSON.stringify(data)。
- 后端:
const body = await request.json()。Server Actions 做了什么: 它利用了 RPC (Remote Procedure Call) 的思想。当你调用函数并传入对象、数组甚至是文件(FormData)时,框架会自动在底层处理数据的“打包”与“拆箱”。
你不需要做了: 不再需要手动设置
Content-Type: application/json头部,也不再需要手动解析请求体。
- 无需手动同步数据状态 (Cache Invalidation)
这是最省心的一点。
- 传统做法: 你用
fetch提交了数据,页面并不会自动变。你得手动调用router.refresh(),或者使用像 SWR/React Query 这样的库来手动触发mutate()。- Server Actions 做了什么: 它与 Next.js 的缓存系统深度集成。只要你在 Action 里写一行
revalidatePath("/"),服务器在处理完逻辑后,会顺便把最新的 HTML 片段带回给前端。- 你不需要做了: 不需要再去写复杂的逻辑来告诉前端“数据变了,请重新获取”。
- 降低了“类型安全”的维护成本
- 传统做法: 你需要定义一套后端的接口类型,再在前端重复定义一遍,或者用复杂的工具生成类型。
- Server Actions 做了什么: 既然它就是一个函数,函数的参数是什么类型,前端传参时就是什么类型。
- 你不需要做了: 不再需要手动对齐前后端的接口字段名。如果你修改了服务器函数的参数,TypeScript 会直接在你的前端组件里报错。
- 不用定义很多变量了, Next.js 给
<form action={...}>做了特殊增强,会自动把FormData对象传给 Action函数。- 可以从useFormStatus / useActionState获取到loading状态,可以从 useActionState 获取到error信息。代码更简单了。
- 如果浏览器的js被禁用了,server action还是可以执行,因为它运行在server上。
老师的表单比较简单,但是我一看到表单,我就想到了上传文件这种复杂场景,还有什么场景?
除了最常见的「文件上传」,很多场景都很复杂,而且用纯原生 Server Actions 写起来都会非常痛苦(错误处理、验证、状态管理、并发控制一大堆 boilerplate)。
这个不用太担心,就按照下面的标准来做,复杂的表单直接问AI该使用什么库即可。
- 小表单(<10 个字段、无文件、无条件逻辑)→ 纯 Server Actions 就够了,爽到飞。
- 中大型表单(上面任意 2 个以上复杂场景)→ 强烈建议直接上 next-safe-action + react-hook-form + zod 或干脆换成 UploadThing + TanStack Query。
75-Pending State with useFormStatus
form提交的时候,我们想添加按钮禁用功能,避免用户的重复提交。这时候需要使用useFormStatus方法,可以获取到最近一次的form提交的相关参数。

这节课主要专注于里面的pending参数。

因为useFormStatus是react hook,所以只能在client components里面使用。但是为了使用这个hook,将整个form组件变为client component,显然是不行的。
可以将submit按钮抽出来,成为单独的client component。为什么可行呢?因为useFormStatus返回的是最近一次form的提交,与具体的form其实是解耦的,所以submit组件里面能够获取到准确的信息。而且button点击后会触发form的action,其实这也是与form解耦了。
上面这段解释非常重要,因为我无论是使用jQuery还是vue,我都是直接在button上面绑定事件的,button和form其实是不能分开的,但是react里面就不一样了。
xxxxxxxxxx191// data-fetching-demo/src/components/submit.tsx23"use client";45import { useFormStatus } from "react-dom"67export default function SubmitButton() {8 const { pending } = useFormStatus();910 return (11 <button12 type="submit"13 className="block w-full p-2 text-white bg-blue-500 rounded disabled:bg-gray-500"14 disabled={pending}15 >16 Submit17 </button>18 )19}将products-db-create/page.tsx里面的按钮替换为这个组件<SubmitButton />,查看效果:
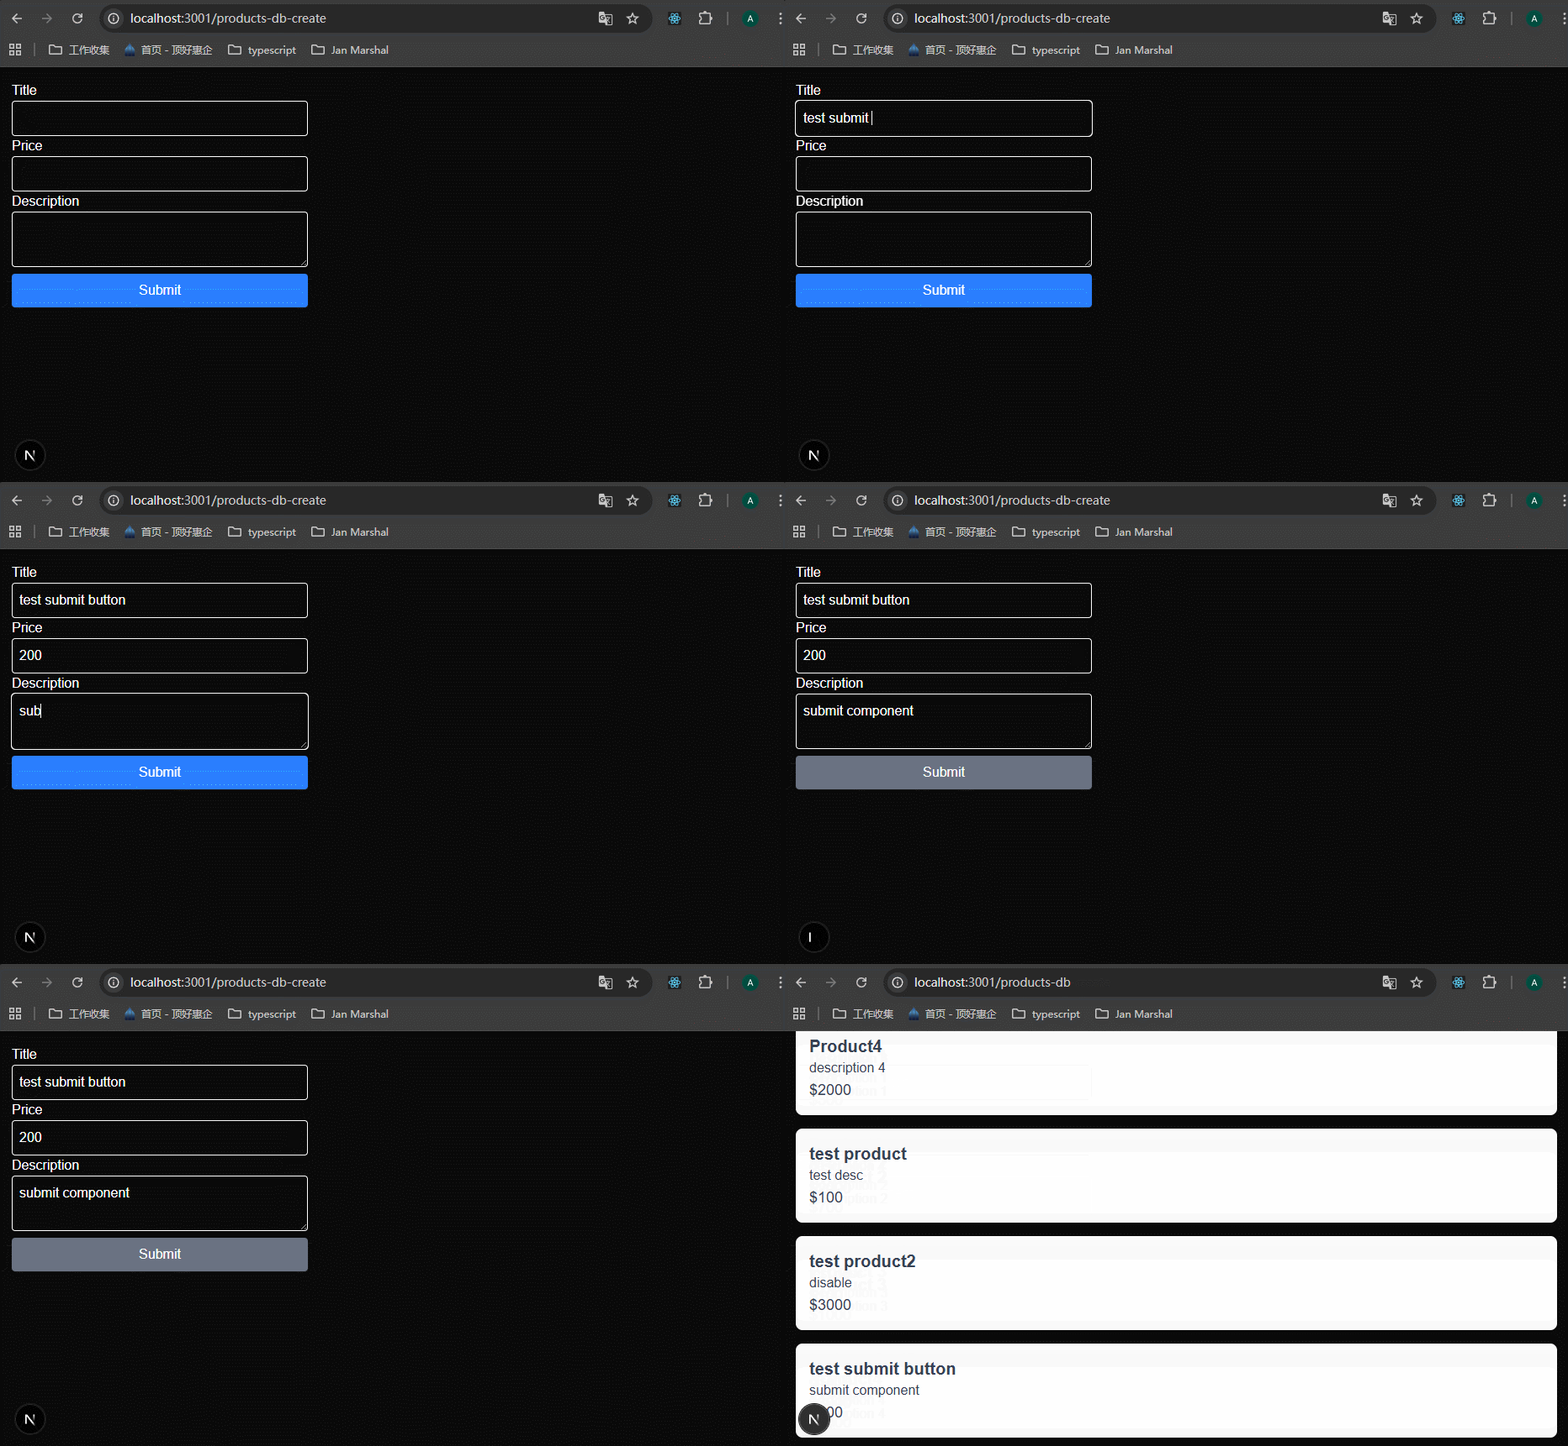
可以看到,点击提交之后,按钮就变为不可点击了。
76-Form Validation with useActionState

这节课告诉我们怎么使用useActionState,但是这节课最终没有完全解决问题,要等到下一节课才能完全解决。
先看怎么使用useActionState。
1、定义错误类型、form表单的状态类型(只需定义里面的errors属性)
xxxxxxxxxx131// data-fetching-demo/src/app/products-db-create/page.tsx23// 定义潜在的错误类型,这些类型将包含在FormState的errors中4type Errors = {5 title?: string;6 price?: string;7 description?: string;8}910// 定义表单状态的类型11type FormState = {12 errors: Errors;13}2、在组件中定义初始状态,并使用useActionState关联form action函数和初始状态
xxxxxxxxxx351// data-fetching-demo/src/app/products-db-create/page.tsx23import { addProduct } from "@/prisma-db";4import { redirect } from "next/navigation";5import SubmitButton from '@/components/submit'6import { useActionState } from "react";78// 定义潜在的错误类型,这些类型将包含在FormState的errors中9type Errors = {10 title?: string;11 price?: string;12 description?: string;13}1415// 定义表单状态的类型16type FormState = {17 errors: Errors;18}1920export default function AddProductPage() {21 // 定义表单初始状态,这里只需要定义errors22 const initialState: FormState = {23 errors: {}24 }2526 // 使用useActionState,关联form action函数和初始状态27 useActionState(createProduct, initialState);28 29 async function createProduct(formData: FormData) {30 31 }32 return (33 34 );35}3、在form action函数中,验证表单数据,并设置错误消息。如果errors对象有属性值,那么就返回errors对象
xxxxxxxxxx451// data-fetching-demo/src/app/products-db-create/page.tsx23.45export default function AddProductPage() {6 // 定义表单初始状态,这里只需要定义errors7 const initialState: FormState = {8 errors: {}9 }1011 useActionState(createProduct, initialState);1213 async function createProduct(formData: FormData) {14 "use server";1516 const title = formData.get("title") as string;17 const price = formData.get("price") as string;18 const description = formData.get("description") as string;1920 // 添加表单校验21 const errors: Errors = {};2223 if (!title) {24 errors.title = "Title is required"25 }2627 if (!price) {28 errors.price = "Price is required"29 }3031 if (!description) {32 errors.description = "Description is required"33 }3435 if (Object.keys(errors).length > 0) {36 return { errors }37 }3839 await addProduct(title, parseInt(price), description)40 redirect("/products-db")41 }42 return (43 44 );45}4、useActionState返回3个参数,state是表单当前状态,里面有errors;formAction,是一个form action函数,需要使用这个函数替换掉createProduct;isPending,表单提交的pending状态。
因为state里面有errors对象,所以在jsx代码中,添加警告的代码。
这节课中,先不使用之前定义的Submit按钮组件,使用普通的按钮,将isPending状态加上去。第78节课会详细说明二者的区别。
xxxxxxxxxx981// data-fetching-demo/src/app/products-db-create/page.tsx235export default function AddProductPage() {6 // 定义表单初始状态,这里只需要定义errors7 const initialState: FormState = {8 errors: {}9 }1011 // useActionState返回三个参数12 const [state, formAction, isPending] = useActionState(createProduct, initialState);1314 async function createProduct(formData: FormData) {15 "use server";1617 const title = formData.get("title") as string;18 const price = formData.get("price") as string;19 const description = formData.get("description") as string;2021 // 添加表单校验22 const errors: Errors = {};2324 if (!title) {25 errors.title = "Title is required"26 }2728 if (!price) {29 errors.price = "Price is required"30 }3132 if (!description) {33 errors.description = "Description is required"34 }3536 if (Object.keys(errors).length > 0) {37 return { errors }38 }3940 await addProduct(title, parseInt(price), description)41 redirect("/products-db")42 }43 return (44 45 // 更换action函数46 47 <form action={formAction} className="p-4 space-y-4 max-w-96">48 <div>49 <label className="text-white">50 Title51 <input52 type="text"53 className="block w-full p-2 text-white border rounded"54 name="title"55 />56 </label>57 58 {/* 添加错误提示 */}59 60 {61 state.errors.title && <p className="text-red-500">{state.errors.title}</p>62 }63 </div>64 <div>65 <label className="text-white">66 Price67 <input68 type="number"69 className="block w-full p-2 text-white border rounded"70 name="price"71 />72 </label>73 {74 state.errors.price && <p className="text-red-500">{state.errors.price}</p>75 }76 </div>77 <div>78 <label className="text-white">79 Description80 <textarea81 className="block w-full p-2 text-white border rounded mb-2"82 name="description"83 />84 </label>85 {86 state.errors.description && <p className="text-red-500">{state.errors.description}</p>87 }88 </div>89 <button90 type="submit"91 className="block w-full p-2 text-white bg-blue-500 rounded disabled:bg-gray-500"92 disabled={isPending}93 >94 Submit95 </button>96 </form>97 );98}此时我们会遇到一个错误:

useActionState这个react hook只能用在client components中,那么我们将这个组件变为client components之后,又有新错误:

It is not allowed to define inline "use server" annotated Server Actions in Client Components. To use Server Actions in a Client Component, you can either export them from a separate file with "use server" at the top, or pass them down through props from a Server Component.
不能在client components里面使用"use server",提示信息还告诉我们怎么解决:要么将代码单独抽离出来;要么当作props传递过来。
下节课中我们使用第一种方法来解决问题。
useActionState的执行原理可以看作是 React 在前端维护了一个“状态循环机”。它不仅仅是一个简单的状态钩子,而是 React 19 为了深度集成 Server Actions 而设计的状态机调度器。我们可以从以下三个维度来拆解它的底层逻辑:
- 核心模型:Reducer 模式的延伸
如果你用过
useReducer,你会发现useActionState的参数结构非常像。它的核心原理就是:(旧状态 + 输入参数)=> 新状态。
- 输入: 用户的操作(如点击、提交表单)和当前存储在客户端的旧状态。
- 处理: 触发你定义的异步函数(Server Action)。
- 输出: Action 执行完返回的新结果,自动替换掉旧状态。
- 执行流水线(Step-by-Step)
当你点击按钮触发
actionTrigger时,React 内部发生了以下链式反应:① 开启 Transition 轨道:
React 内部会自动开启一个 startTransition。这就是为什么它能自动提供 isPending 状态的原因。它告诉 React 调度器:“接下来的更新是低优先级的,不要阻塞主线程。”
② 快照当前状态:
React 会捕获当前的 state 作为 prevState。
③ 跨越“服务器边界”:
React 调用你传入的 Server Action。由于是在 Transition 中执行,React 会等待这个异步函数(Promise)完成。
④ 状态合并与 UI 更新:
当服务器返回结果后,React 会执行一次“状态分发”:
- 将
isPending设为false。- 将 Action 的返回值存入
state。- 触发组件重绘,将错误信息或新数据渲染到屏幕上。
3、为什么它需要第一个参数是
prevState?你可能注意到了,Server Action 在配合
useActionState使用时,函数的第一个参数必须是prevState:11async function myAction(prevState, formData) { }原理在于“连续性”:
Server Actions 是无状态的 HTTP 请求。为了让 Action 知道上一次发生了什么(比如:这是第几次尝试?上一次处理到哪一步了?),React 要求你把状态传回给服务器,服务器处理完后再传回给前端。这形成了一个状态闭环。
4、这里的“魔法”:序列化 (Serialization)
useActionState最神奇的地方在于它处理数据的方式。
- 数据打包: 当你调用触发函数时,React 会把参数(即使是复杂的
FormData)序列化成一种特殊的协议格式。- 透明传输: 它通过 POST 请求发送给服务器。
- 状态同步: 服务器执行完后,返回的不仅仅是数据,还可能包含 Server Component 的更新指令(如
revalidatePath)。useActionState会确保这些指令在isPending结束前执行完毕。5、总结:它解决了什么技术痛点?
在没有这个 Hook 之前,我们要处理一个异步交互需要维护 3 个独立变量:
data(存储结果)loading(手动设 true/false)error(手动 try/catch 捕获)
useActionState的原理就是将这三者合为一体,并挂载到 React 的 Transition 并发调度机制上。 它是真正的“全栈状态同步器”。
77-Separating Server Actions
我们抽离server action函数到一个单独的文件中去,这样就可以保证使用use server没有问题。哪部分用到了use server,就抽离那部分。
创建src/actions/products.ts,这文件的顶部使用"use server";directive,将整个文件的内容都变为服务端使用。
xxxxxxxxxx461// src/actions/products.ts23"use server";45import { addProduct } from "@/prisma-db";6import { redirect } from "next/navigation";78// 定义潜在的错误类型,这些类型将包含在FormState的errors中9export type Errors = {10 title?: string;11 price?: string;12 description?: string;13}1415// 定义表单状态的类型16export type FormState = {17 errors: Errors;18}1920export async function createProduct(formData: FormData) {21 const title = formData.get("title") as string;22 const price = formData.get("price") as string;23 const description = formData.get("description") as string;2425 // 添加表单校验26 const errors: Errors = {};2728 if (!title) {29 errors.title = "Title is required"30 }3132 if (!price) {33 errors.price = "Price is required"34 }3536 if (!description) {37 errors.description = "Description is required"38 }3940 if (Object.keys(errors).length > 0) {41 return { errors }42 }4344 await addProduct(title, parseInt(price), description)45 redirect("/products-db")46}在products-db-create/page.tsx里面引入ts类型和函数,使用即可。

useActionState的第一个参数有个报错,这是因为第一个参数的函数createProduct里面,第一个参数是prevState,加上之后就不报错了,这里的prevState暂时不使用。

测试一下:
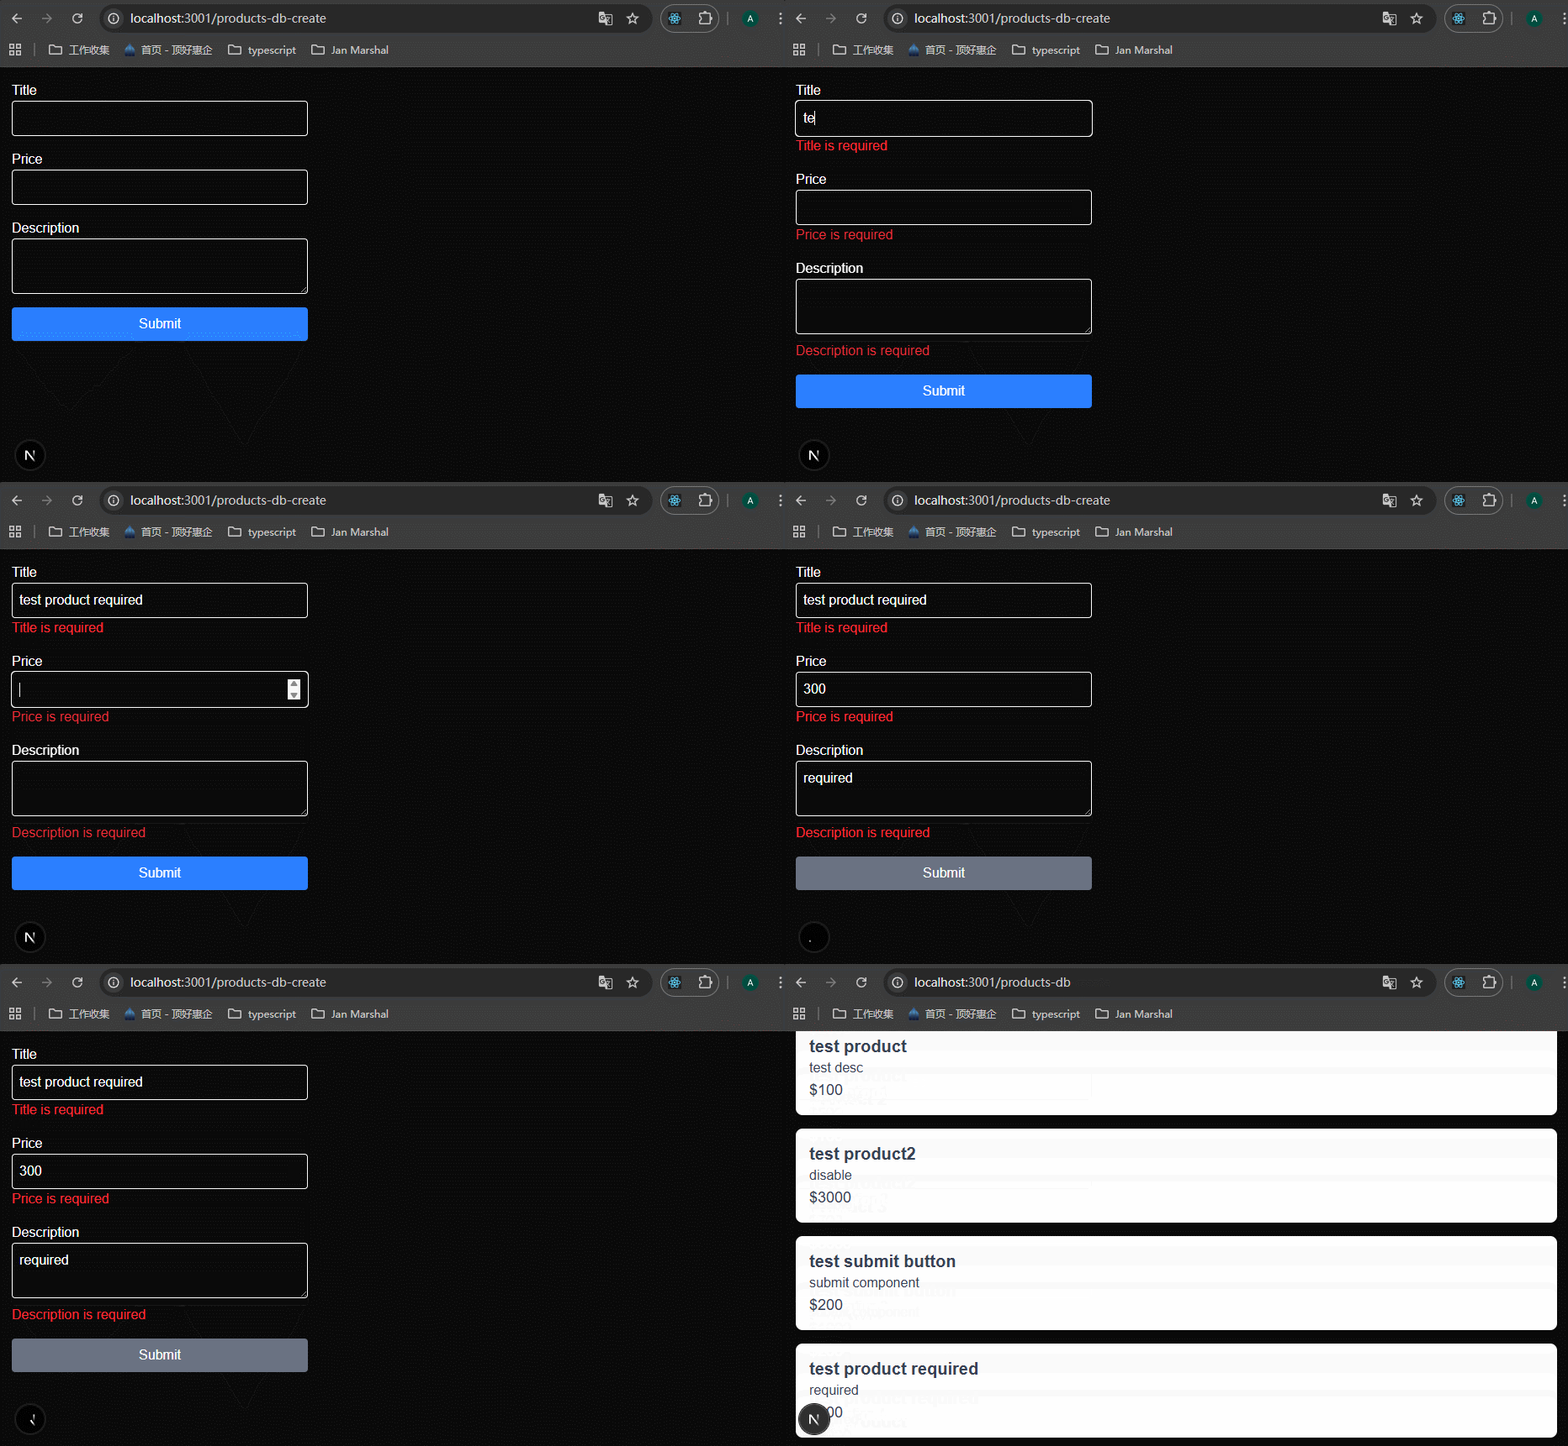
可以看到必填项的校验触发了。
